Alocasia Care Guide
About Alocasia
Alocasia has to be one of the most impressive specimens you can own as a houseplant. Commonly known as elephant’s ear, this plant produces massive leaves on the end of tall elegant stems, making this one of the most fantastic big-leafed species of houseplants of all time. This wonderfully imposing plant is a tuberous flowering perennial part of the Arecaceae (Arum) family. This plant, as you may expect, belongs to the ecosystems of tropical rainforests being predominantly found across South-East Asia and Eastern Australia. With around 80-90 species being found in the wild, they are most commonly found in the rainforests of Borneo where their leaves can grow in excess of four meters!
This plant is known to get so large that all across Asia it is known as “the tree that grows up to the heavens” and in a lot of Eastern and Western cultures the Alocasia is the plant from the fairytale Jack and the Beanstalk. Alocasia has been at the height of popularity for thousands of years, originally being cultivated to sell in countries all around the equator as food. But almost all cultivars and hybrids that are grown in the modern day are for ornamental purposes. This started way back in the 50s when Alocasia dominated the houseplant scene and raced into homes worldwide.
These plants are true statements of beauty and come in various species. While sometimes not the easiest plants to look after, and by no means a beginner plant as their required conditions vary from species to species, when you get it right they are highly rewarding and make a beautiful addition to any environment.
Light
Depending on the species, the light requirements can vary quite strongly from shade to full sunlight. It’s important to know what species you have selected, while most houseplant Alcocasia will be happy out of direct light, more seasonal outside-growing species can sneak into the indoor plant section.
As a general rule, most Alocasia prefers an abundance of bright light. Some of the large species tolerate a partial amount of direct morning sunlight. Afternoon sunlight through glass can be too powerful and cause damage to the leaves. This being said, with regular training Alocasia can adapt to spending prolonged periods of time exposed to full sunlight.
Alocasia won’t tolerate low light levels very well and too much shade can cause these plants problems very quickly.
Humidity
Humidity is one of the most crucial aspects of Alocasia and to thrive these plants will need high levels of humidity almost all year round. While a lot of houseplants will tolerate lower levels of humidity, Alocasia will need to be kept at a minimum of 50% humidity but will be happiest at 60- 80% humidity. Anything lower than 50% humidity and distress signs will quickly start to show forming on the outer edges and tips of the leaves.
Water
Alocasia is not the most straightforward when it comes to water requirements. Most like to have their soil kept relatively moist, but not wet or soggy as this can lead to root rot, fungal infection and overall poor performance. There is a fine line to balance with how often they need to be watered, they need the soil to almost dry out completely between watering, this is why high humidity is so important because the plant prefers to gather moisture from the air as opposed to the root system. Tread very carefully when it comes to watering your Alocasia, if the soil in the pot feels dry and light but the plant is showing no signs of wilt or distress it’s best to wait another day before watering.
Soil
Alocasia prefers well-drained soil that can retain some moisture between watering. The ideal soil mix for Alocasia will be nutrient-rich, allow for good aeration, be slightly acidic, and be free-draining with a smidge of water retention. Most aroid potting mixes will be sufficient, but you can always add perlite for some additional drainage, and vermiculite for added water retention. With a combination of these, you can provide the best environment for your plant to thrive.
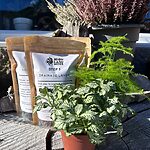
Grab Your Ready-To-Use Aroid Mix Here
Pests & Disease
Even though Alocasia are tough and resilient plants they can still suffer from pests, and the chance of them making an unwelcome appearance is still very possible.
It is good practice to regularly check your plants for any signs of aphids, red spider mites, mealy bugs, and thrips. You may notice some signs of distress by checking regularly you allow yourself time to prevent a full-blown attack.
The most common problem with Alocasia is red spider mite which often occurs when humidity levels are too low.

Check our video on homemade pest remedies or head over and read are Fungus Gnat Fact Check and Home Remedies how to guide
Feed
Since Alocasia are such vigorous growers, they will need regular feeding to keep them happy. Like most houseplants, to promote healthy roots, stems, and leaves they will need a steady supply of nitrogen, phosphorus, and potassium. The most important is nitrogen to keep their leaves large and looking their best.
A good liquid houseplant feed can be applied every two weeks during the growing season. There’s no need to feed during the winter, light levels are much lower and the plant won’t use as much energy to grow and often goes dormant.
Repotting
It’s best to re-pot your Alocasia once the roots fill their pot. Depending on the size of the plant, you may find yourself repotting once per year. That being said, they don’t mind being slightly pot-bound, they can survive like this for quite some time, as long as they are receiving enough nutrients via feeding.
The pot size can increase by one step up every year for as long as you have the space to house the new influx of growth. If you have reached your maximum pot size you will need to top-dress the plant once a year with a fresh layer of soil to replenish the nutrients.
The best time to repot your Alocasia is when spring arrives. Outside temperatures will rise and the daylight hours will increase. When this happens your Alocasia will react quickly to the environmental change and start producing lots of new foliage growth.
You will need to pick a pot with good drainage, we don’t want water hanging around the roots.
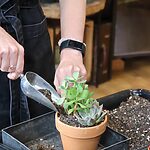
Next, fill a third of the way up with an Aroid Potting mix. Place the root ball of the plant in the centre of the pot.
Once the plant is in place, fill the pot with the rest of your potting mix and firm down the soil.
When you’ve finished and got your plant back in the perfect spot you can give it a thorough watering to settle the plant into its new pot. Keep a close eye on it for the first couple of weeks and then relax back into your normal watering and feeding schedule.
Pruning & Propagating
Alocasia produces a lot of leaves during the summer months and in good growing conditions, it can be as many as one a week! So it is normal for these plant leaves to have a short life cycle you may often find as one new leaf appears, the old one will die back.
It’s good to keep the older leaves trimmed but always wait for the fading leaf and stem to produce a new leaf before cutting it away from the plant.
It is almost impossible to get an Alocasia to root from a cutting so the best way to propagate them is by dividing the rhizomes. But the success of keeping your propagated plants alive long enough to root and produce new leaves is down to keeping them in a warm and humid environment, the ideal temperature and humidity will be above 25°C with a humidity of at least 65%.
Dividing Alocasia can be done in a couple of ways if you have a larger plant with a substantial root ball that can be cut into pieces and repotted. Place the root ball on a flat surface and look for natural division points (these can be identified by how the stems are growing from the surface of the plant). Once you have identified your division points and assessed that each point contains a substantial amount of roots, using a sharp sterilized knife, cut through the root ball. Transplant each new division into an appropriately sized pot in fresh potting soil.
These plants also produce baby plantlets which are easy to separate from the main root ball, they will need to be gently teased away, untangling and retaining as much of the root system as possible. Once you have removed all the plantlets place them into small containers with fresh potting soil.
Troubleshooting & Tips
- Alocasia naturally drops a lot of leaves, as long as your plant is producing new leaves at the same rate there’s nothing to worry about.
- If your plant is quickly developing yellow leaves including the newer growth, this is an indicator of too much direct light, move it away from any area of direct light so it is only receiving high levels of indirect light.
- The sudden development of yellow leaves that quickly become brown or mushy can be a sign of overwatering, which in most cases could also lead to root rot.
- If the edges of your plant are starting to become brown, this can be a sign of temperature shock, which can occur from sudden changes in ambient temperature or persistent cold drafts but can also develop if the plant is watered with cold water causing shock to the root system.
- If the tips of the leaves are starting to turn brown and slightly crispy this is a sign that the plant needs more humidity.
- If the edges of the leaves are drooping and starting to curl inwards this is a sign that the plant isn’t getting enough water.
Toxicity
Alocasia produces toxins in its leaves and stems as a natural deterrent for pests and animals so they can pose a risk. It is best to keep these out of the reach of children and pets.
Species

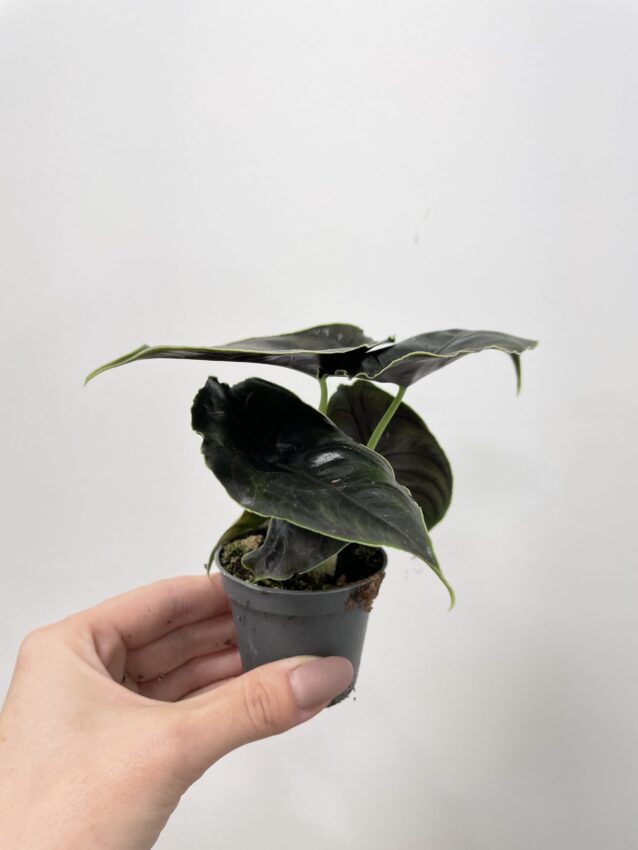
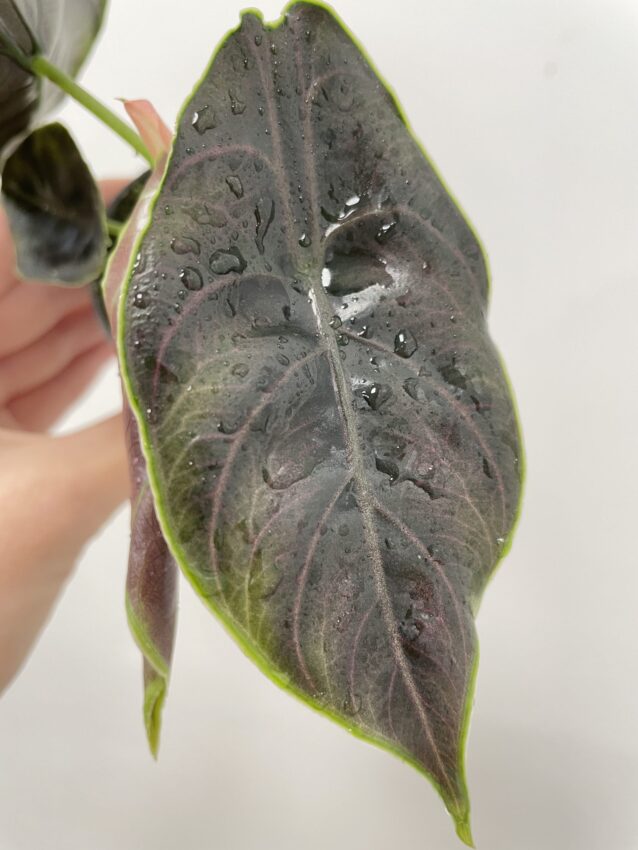
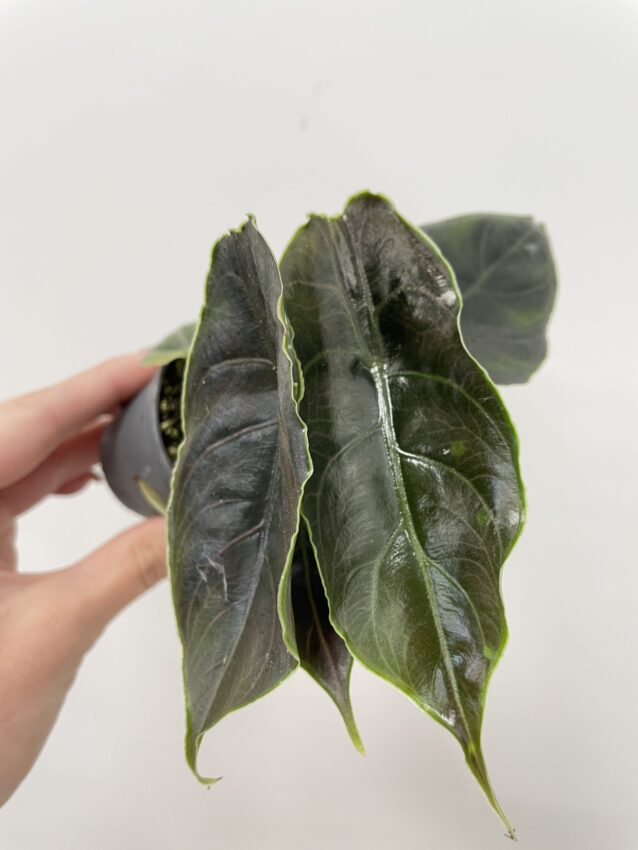
Alocasia Azlanii Elephant Ear
This Alocasia is a true tropical wonder and creates a beautiful display of foliage. The arrow-shaped leaves, which can grow up to 20cm, are a dark rich glossy green, embroidered with striking pink/purple veins running over the surface of the leaf. Growing up to 60cm tall this humidity-loving elephant’s ear is a show stopper of a houseplant.

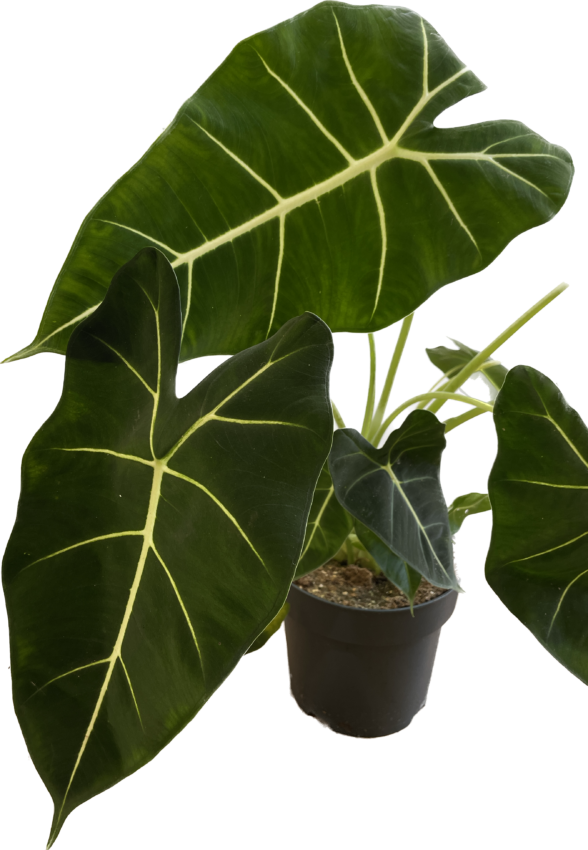
Alocasia Frydek Elephant Ear
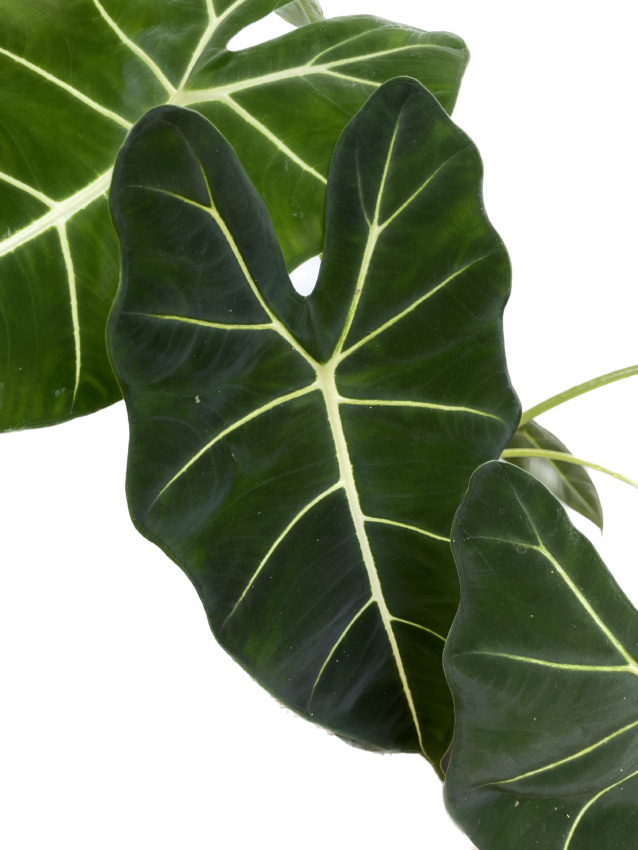
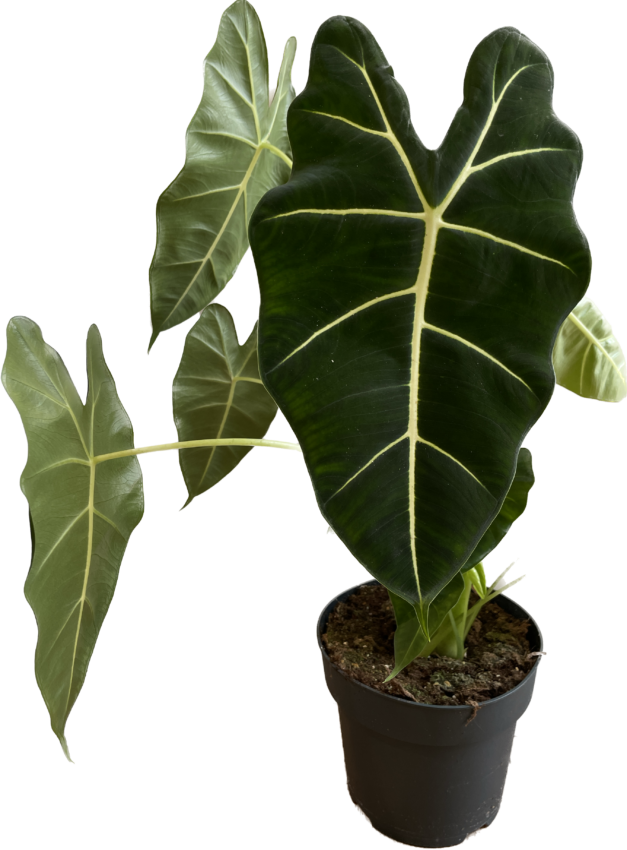
Frydek is a gorgeous variety of Alocasia. This majestic plant produces dark green arrow-shaped leaves that are soft and velvety to the touch. The white veins running through the leaves add a dash of contrast and help this plant stand out from the pack.

If you enjoyed this guide head over to Articles & Blogs to learn more or check out our YouTube for even more useful information!


