Table of Contents
- About
- Light
- Humidity
- Water
- Soil
- Pests & Diseases
- Feed
- Pruning & Propagating
- Repotting
- Troubleshooting & Tips
- Toxicity
- Species
- Selaginella Apoda
About
Selaginella is one of those fascinating plants that at first glance looks like it would be more comfortable living on a coral reef or in an aquarium amongst a school of tropical fish. The gorgeously vivid plant falls between a couple of different categories and almost forms a plant group of its own not quite fitting in anywhere else.
Selaginella is the only genus that makes up its family group Selaginellaceas, consisting of around 750 different species these tropical looking fern/moss-like plants have delicately scaled leaves with spores on their underside. This plant is found in almost all tropical and sub-tropical regions of the world as well as a few cold-tolerant species being found in arctic-alpine zones on both sides of the globe.
The perennial plant is also known as spike moss, lesser club moss, or trailing moss and is a type of vascular plant, meaning a plant that has a specialised system for carrying and transporting fluids around its vascular system. This different adaption is where it puts itself in a grey area between moss and fern, with similar traits to both it has formed a category of being somewhere in the middle. Selaginella is mostly a ground-covering plant with the ability to creep, trail or climb over its natural surroundings.
These plants at their core are humidity lovers and often struggle in dry environments. But some species of this plant have formed incredible adaptations to deal with areas of low humidity. Known as the resurrection plant, they have found their way to desserts where moisture is almost non-existent. To survive, when all signs of moisture have vanished, they curl up into a tight, dead-looking, brown ball and become dormant. Then once the first signs of moisture re-appear, they unfurl, turn green and pick back up where they left off.
Light
Naturally, Selaginella is a deep to moderate shade lover and prefers sheltered areas so it’s only exposed to indirect light. It should never be exposed to direct sunlight as this will quickly cause damage.
Selaginella will predominantly need shade but some indirect bright light will be needed to help maintain the bright vivid colour and abundant growth. The more light the plant intakes the brighter the green of the foliage will be.
This plant will tolerate bright indirect light but this often causes the plant to dry out very quickly so as long as the soil is being kept perpetually moist or is used in a terrarium it should be okay.
Humidity
Humidity is the most important aspect of care to get right with Selaginella. Without the right humidity level, this plant will quickly perish. At a minimum, this plant will just about tolerate being exposed to around 60% humidity, at this level the plant will still need regular misting to perform well. Ideally, Selaginella should be kept at 75%+ humidity.
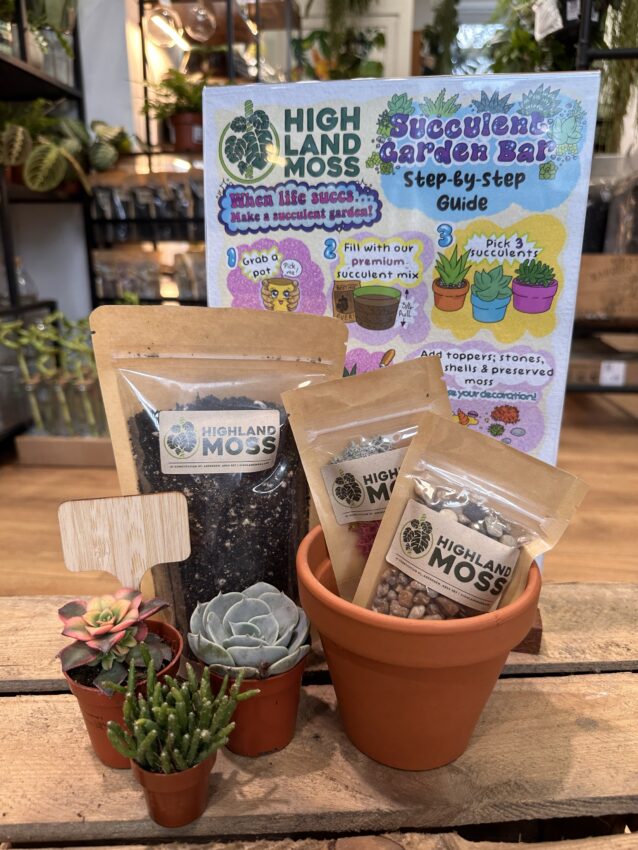
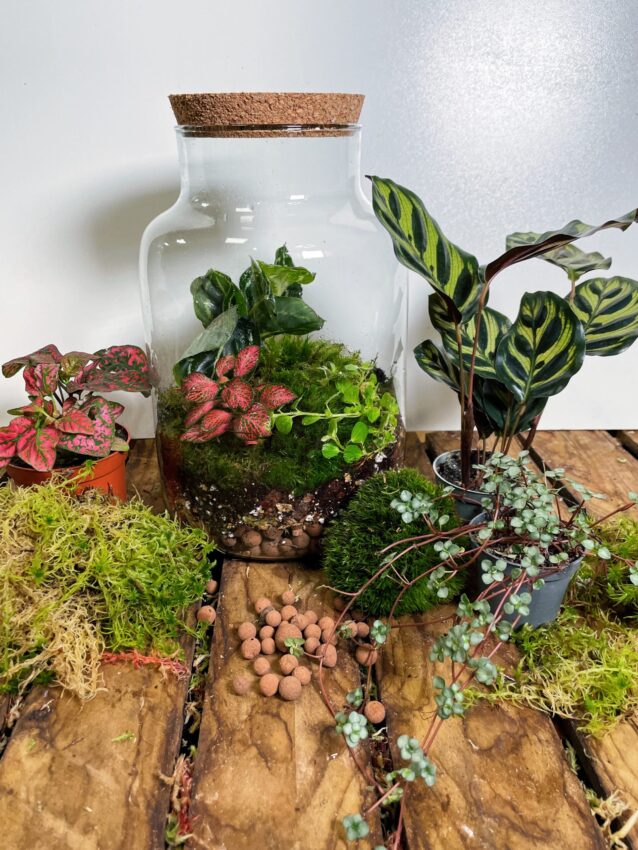
This need for humidity makes these plants perfect for use in terrariums where moisture levels in the air are kept much higher!
Pro Tip
The best way to maintain high humidity is to use a humidifier placed about a metre away from your plant to provide high ambient humidity. Alternatively, you could place your plant on an undertray filled with Leca pebbles sitting in a shallow layer of water. Make sure the plant is not submerged in any water as this can lead to root rot. As the water from the undertray evaporates from the surface of the pebbles or stones it will keep humidity levels high precisely where you need it most.
Water
Selaginella should be watered thoroughly and regularly, during the growing season the soil should never be allowed to fully dry out. The soil needs to be kept moist and not soggy or saturated as this will cause the delicate root system to quickly rot.
Selaginella is a fairly sensitive plant, never water the plant with cold water always make sure it is at least room temperature. The cold water can cause the plant to go into shock from which it might not recover.
Top Tip
Always water from the base of the plant. Sitting your plant in an under tray and allowing it to absorb water from the base will reduce the risk of overwatering and is a good preventative measure for fungus gnats. Remember to always set a timer from the minute the plant goes in the water, we don’t want any forgotten casualties on our hands.
Pro Tip
Before you water your plant, take note of the weight of the pot. Once you’ve watered the plant, try to notice the difference in weight from before. Now you can quickly tell if your plant needs water by just lifting it up
Soil
Selaginella will require fairly well-draining soil, that can hold onto a good degree of moisture without staying saturated. A good houseplant compost should do the job. but you can always add perlite for some additional drainage, and vermiculite for added water retention. With a combination of these, you can provide the best environment for your plant to thrive.
Pests & Diseases
It is good practice to regularly check your plants for any signs of aphids, red spider mites, mealy bugs, and thrips. You may notice some signs of distress by checking regularly you allow yourself time to prevent a full-blown attack.
The most common problem with Selaginella mealy bugs and spider mites tends to happen in the warmer month when there can be a lack of humidity and airflow to the plant.

Check our video on homemade pest remedies or head over and read Fungus Gnat Fact Check and Home Remedies how to guide
Feed
Selaginella requires little feeding as they have a fairly delicate root system and process nutrients in feed differently from other plants, But to give them a bit of a boost a blanched liquid houseplant feed can be applied once a month.
It’s best to dilute the feed to around half strength and should only be used during the warmer growing months when the plant will actively be putting on growth. You can still feed during winter but if you do it’s advisable to dilute the feed by half again.
Top Tip
A drop of houseplant feed in a mister bottle is a great way to feed your plant via its foliage. This will help to promote vibrant and healthy foliage.
Pruning & Propagating
Regular pruning may be needed with your Selaginella, if they are being cared for well they can put on an abundance of growth quite quickly and start becoming unruly. It is good practice to remove any yellowing of dead growth to keep the plant tidy. To keep the plant tight, compact and bushy you can pinch out the growing tips.
It can be advisable to trim out some of the growth during the summer to help keep air flowing through the plant which will help to deter pests but if the plant has gone a bit wild you can cut the growth all the way back to the base of the stems and start again. This will rejuvenate the growth and help to promote a healthy root system.
REMEMBER – Always use clean and sharp pruning scissors!
There are two effective methods to start propagating from Selaginella;
Dividing
Selaginella can be divided in a couple of ways if you have a larger plant with a substantial root ball this can be cut into pieces and repotted. Place the root ball on a flat surface and look for natural division points (these can be identified by how the stems are growing from the surface of the plant). Once you have identified your division points and assessed that each point contains a substantial amount of roots, using a sharp sterilised knife, cut through the root ball. Transplant each new division into an appropriately sized pot in fresh potting soil.
Top Tip
Dividing plants can cause shock and be a traumatic experience for your plant. So make sure the plant is in good health and has been well watered the day before to give the plant the best chance of survival
Stem Tip Cuttings
If you give your plant a hard cut back you will have loads of great propagating material. To take a stem tip cutting, remove 4-5 inches of healthy stem growth from the plant and strip off most of the lower leaves just leaving a tuft of greenery on top.
Place the cutting into moist well-drawing soil and place somewhere warm and humid. Keep the pot moist and wait to establish a significant amount of roots before potting up into something bigger.
You can also put your cutting straight into a jar with fresh sphagnum moss. This is probably the easiest way to propagate as it involves the least steps. Simply take your cutting and find a jar or pot preferably with no drainage holes, fill it up with fresh moss and nestle your cutting in the centre. Fill up the jar with water so the moss has been evenly watered and then drain out all excess water making sure not to leave any at the bottom of the jar when standing upright. Now just keep an eye on your new cutting, checking the moss every couple of days to ensure it hasn’t dried out.
Repotting
Selaginella likes to be slightly pot-bound they benefit from having a tight system of roots. So only move your plant up in pot sizes when the root system is bursting out of the drainage holes at the bottom of the pot.
The pot size can increase by one step up every year. If you have reached your maximum pot size you will need to top-dress the plant once a year with a fresh layer of soil to replenish the nutrients.
The best time to repot your plant is when spring arrives. Outside temperatures will rise and the daylight hours will increase. When this happens your plant will react quickly to the environmental change and start producing lots of new foliage growth.
You will need to pick a pot with good drainage, we don’t want water hanging around the roots.
Next, fill a third of the way up with a houseplant potting mix. Place the root ball of the plant in the centre of the pot.
Fill with the remaining soil and gently firm down around the root ball.
When you’ve finished and got your plant back in the perfect spot you can give it a thorough watering to settle the plant into its new pot. Keep a close eye on it for the first couple of weeks and then relax back into your normal watering and feeding schedule.
Troubleshooting & Tips
- Browing tips are a sign of low humidity, the plant won’t survive long if the humidity is not raised after noticing the colour change.
- It’s best to use Selaginella in a terrarium where humidity levels are more consistent.
- Never let the soil completely dry out this will cause a quick demise for your plant.
- They may dramatically wilt when they need a drink but place them in an undertray of water and they should bounce back.
Toxicity
Selaginella is harmless to both people and animals. It’s non-toxic so there are no worries about ingesting or coming into contact with the plant’s foliage.
Species

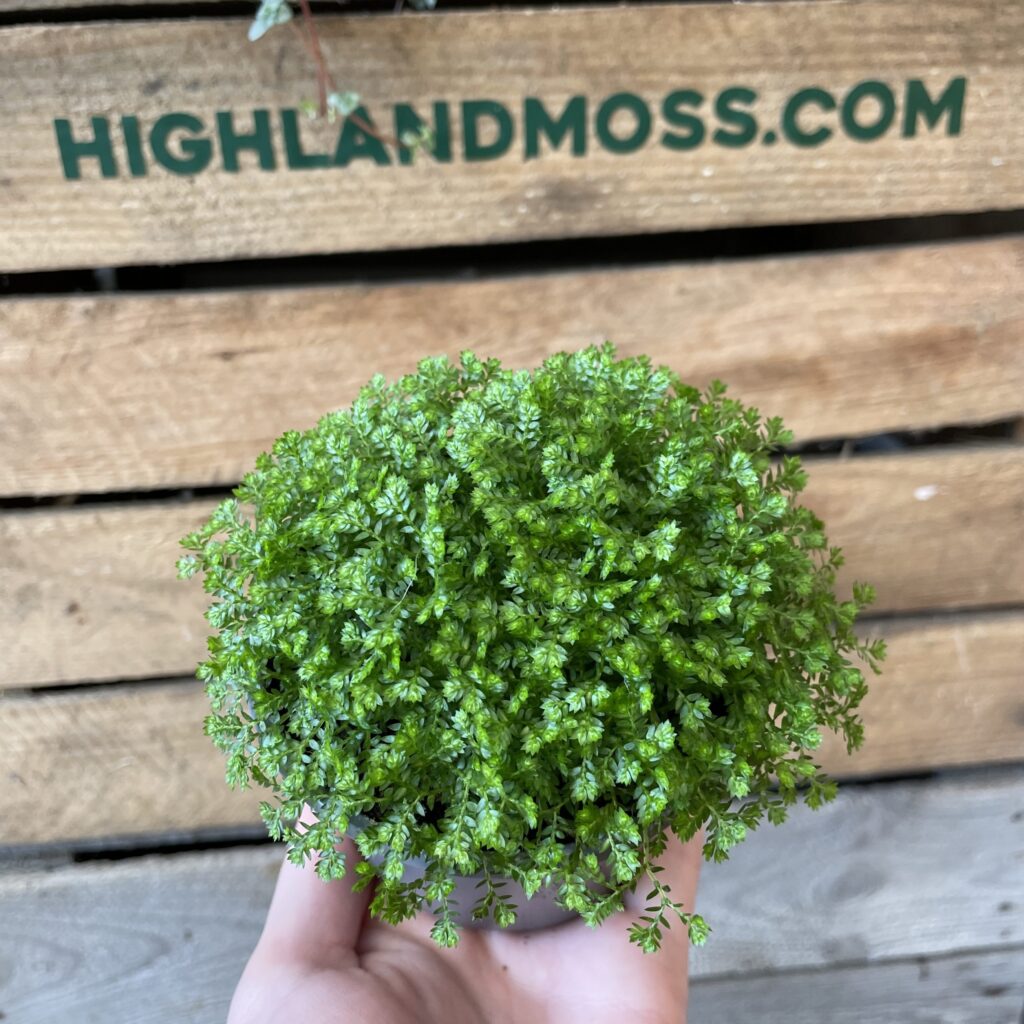
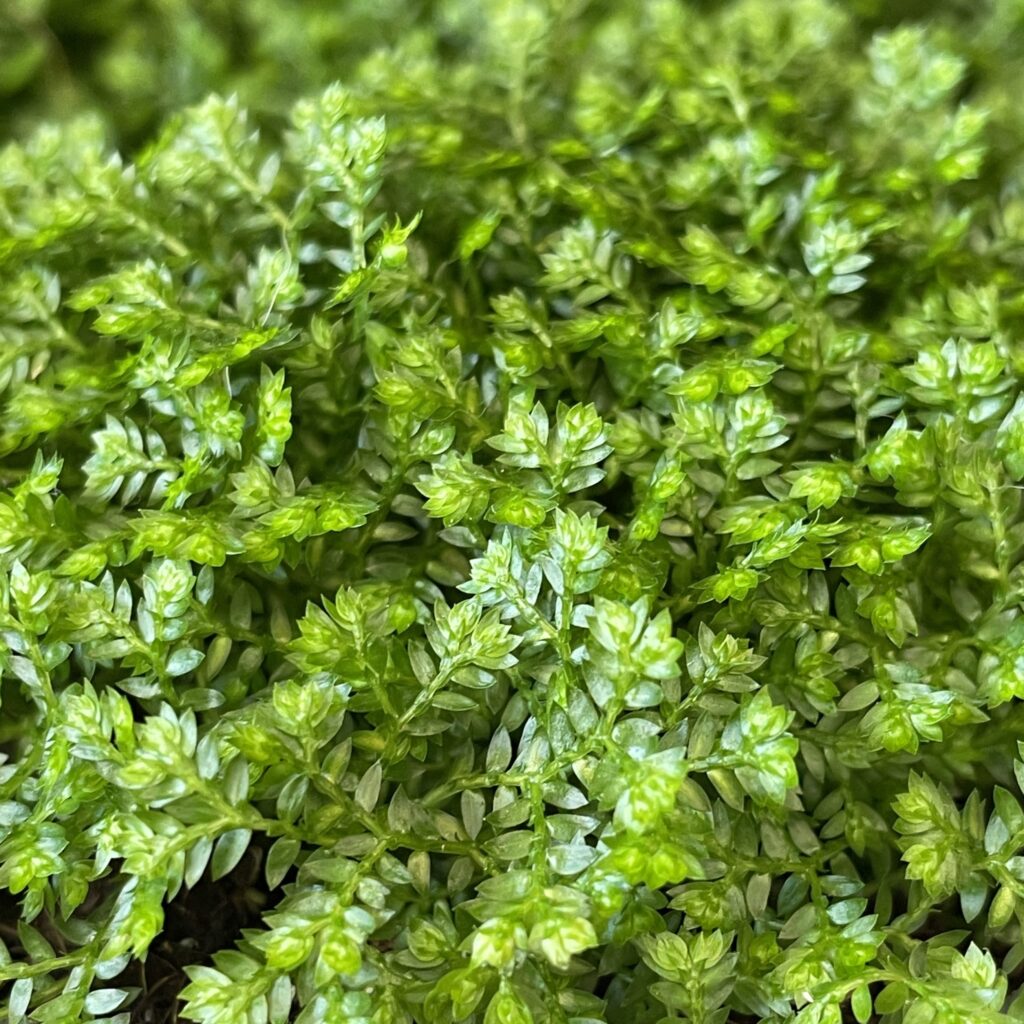
Selaginella Apoda
Selaginella is one of those plants that once you see it you have to have it. Photos never do this gorgeous plant true justice! Producing bright vivid green scale-like leaves that branch out from the centre creating a dense clump of must-have greenery. Their love for humidity makes them a perfect choice for terrariums, adding a touch of beauty and magic to your enclosed slice of nature.


If you enjoyed this guide head over to Articles & Blogs to learn more or check out our YouTube for even more useful information!