How to Rescue Overwatered Orchid with Root Rot And Yellow Leaves
Orchids are one of the most popular indoor plants that people love to keep in their homes and give as a gift. However, taking care of orchids can be a bit tricky are require some knowledge about plants’ basic needs.
Overwatering is one of the most common problems that many orchid growers face. Overwatering can cause root rot, which can ultimately kill the plant. In this article, we will discuss how to rescue an overwatered orchid with root rot. We will cover everything from identifying the problem to treatment and ways to prevent it in the future.
Identify the Problem
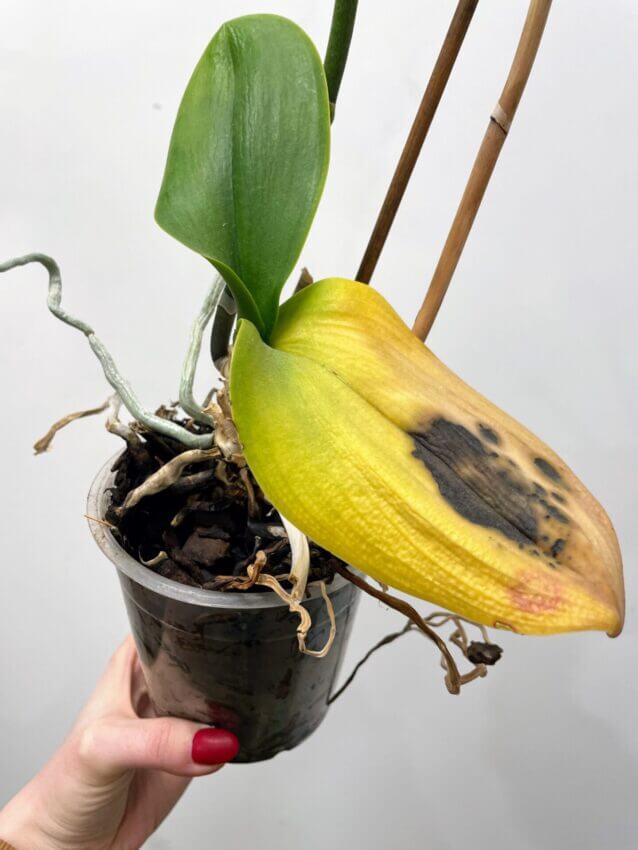
The first and most important step in rescuing an overwatered orchid is to identify the problem. The symptoms of overwatering and root rot are easy to spot if you know what to look for. Some of the most common symptoms include:
- Yellowing leaves
- Brown spots on leaves
- Drooping or wilted leaves
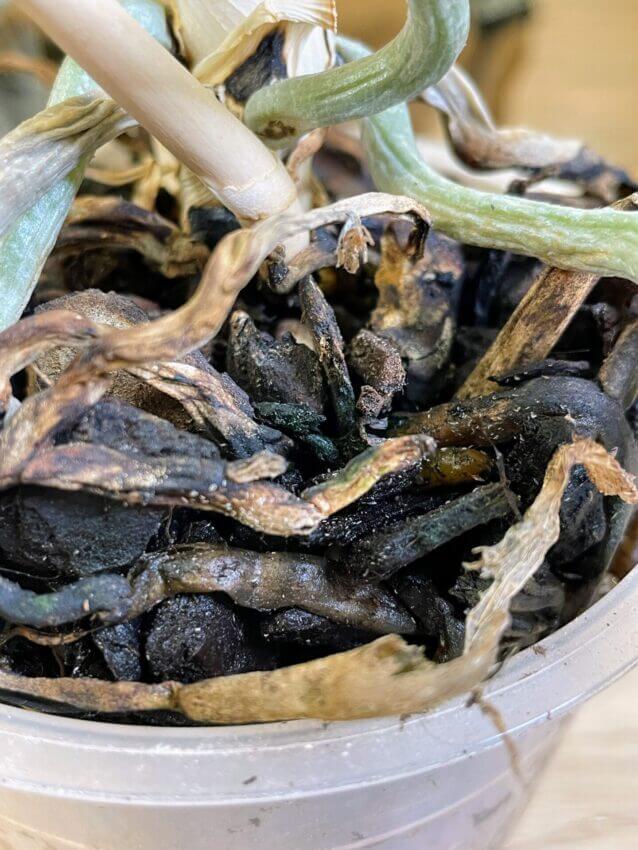
- Soft and mushy roots
- The unpleasant smell of rot coming from the pot
- Lack of growth of new leaves or flowers

Remove the Plant from the Pot
Once you have identified that your orchid has root rot, the next step is to remove the plant from the pot. Carefully remove the plant and examine the roots.
If the roots are black or brown and mushy to the touch, this indicates that they have rotted due to overwatering.

Trim the Rotted Roots
Using a clean and sharp pair of scissors or pruning shears, trim away the rotted roots. Make sure to cut only the damaged parts of the roots and leave the healthy ones intact. After trimming, the roots should have a white or light-coloured appearance.
To prevent the spread of infection, it’s important to regularly clean your hands, scissors, and work surface. Using gloves can also be a helpful measure to reduce the risk of contamination. While handling your infected plant do not touch other plants.
At this stage, it’s also recommended to improve the plant’s appearance by removing any dead pieces of stem or infected leaves. This can help to enhance the plant’s overall aesthetic and promote healthier growth.
Treat the Plant with Fungicide
After trimming the roots, it’s time to treat the plant with a fungicide. This will help to prevent any further fungal growth and infections. Make sure to follow the instructions on the label carefully and apply the fungicide evenly to the roots and soil.
Hydrogen peroxide can be used as an effective treatment for rot, as it possesses both antiseptic and antifungal properties. As an alternative to traditional fungicides, using a 3% food-grade hydrogen peroxide solution can be an accessible option, as it can be found in many people’s home first aid kits and can be used to fix a variety of plant-related issues.
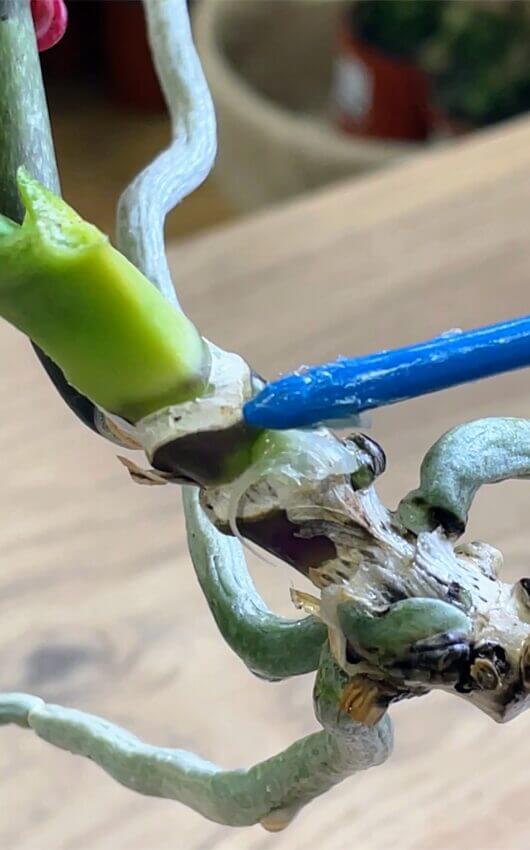
Using Keiki Paste for Orchid Rescue and Propagation
Applying Keiki paste is an optional step at this stage, which can be easily skipped but can increase the chances of rescuing your orchid.
When the orchid is in poor health, it may struggle to produce new growth or even die off completely. By using Keiki cloning paste, plant hormones can be applied to encourage new growth.
Keiki cloning paste is a commonly used tool among orchid enthusiasts for propagating their plants. This paste consists of plant hormones that encourage the growth of keikis, or baby orchids, at the nodes of a parent plant.
To use the paste, apply a small amount to the desired node using a clean toothpick or brush.
Once applied, the paste will trigger the development of a new Keiki that can be separated from the parent plant once it has established its own roots and leaves. Keiki cloning paste is an efficient and straightforward method for propagating various orchid species. It may take some time and is not 100% successful but worth to try when your orchid is in poor health.

Repot the Plant in Fresh Growing Medium
After treating the plant with a fungicide, it’s time to repot it in a suitable growing medium.
If you removed many roots you can reuse the old one after cleaning it with hot water and/or rubbing alcohol to prevent contamination. If you removed only small parts of the roots, choose a slightly larger pot.
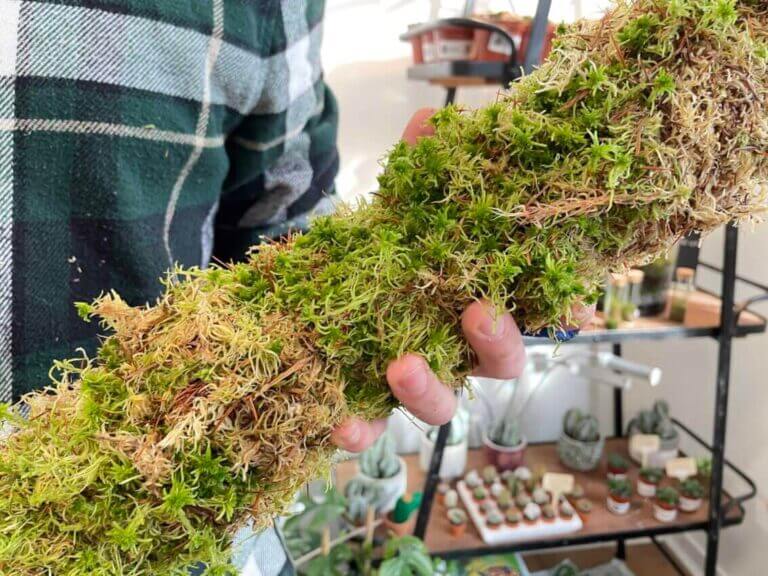
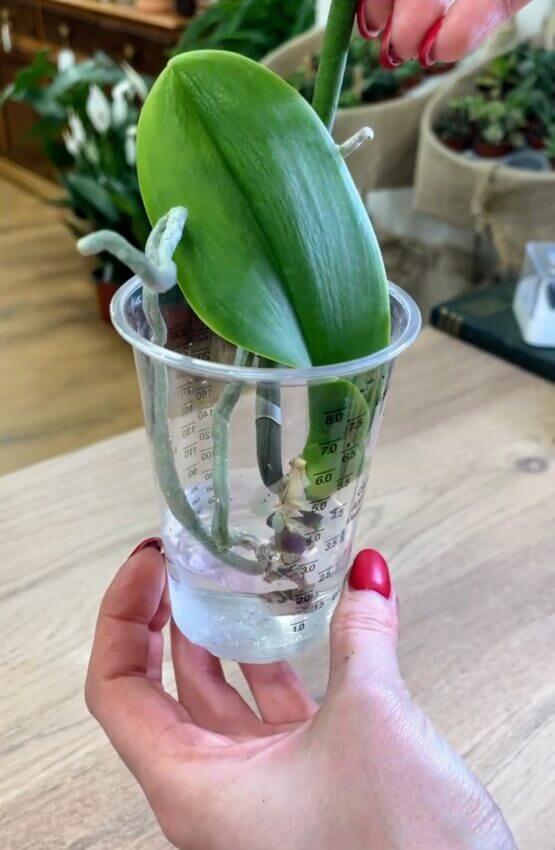
Use sphagnum moss or pine bark as a growing medium and ensure the plant is at the same depth as before. Gently tap the cup on the table to settle down the growing medium around the plant to ensure stability, and if necessary, use sticks and clips to keep the plant straight.
Before & After


Prevent Root Rot and Keep Your Orchid Happy
Preventing overwatering and root rot is the best way to ensure your orchid stays healthy and beautiful. Here are some tips to prevent overwatering and root rot:
- Water your orchid only when the growing medium dries out slightly.
- After watering allow excess water to drain out of the pot.
- Make sure your pot has drainage holes to prevent water from pooling at the bottom.
- Avoid using decorative pots without drainage holes.
- Adjust the watering frequency based on the season and temperature as well as on your home environment.
- Keep your orchid in a bright, indirect light and avoid direct sunlight.
- Keep the plant away from cold drafts and sources of heat.
- Use a humidifier or pebble tray to increase humidity levels around your orchid.
Summary
Overwatering and root rot can pose a severe threat to the health of your orchid and may even lead to the plant’s death in some cases. However, with proper care and attention, it’s possible to rescue an overwatered orchid and restore it to good health. Be sure to identify the problem, trim the rotted roots, treat with fungicide, repot in the fresh growing medium, water correctly, and provide proper light and temperature. By doing so, you may be able to prevent root rot or catch it at an early stage when the plant is still salvageable.
Need More Help?
If you’re unsure about what’s wrong with your plant or lack confidence in providing treatment, why not try our Plant Hospital? This free online service only requires a few simple steps to create a plant patient form, which we will review and diagnose for you. If you’re looking for instant advice, check out our new MOSSBOT, a super smart tool that provides instant advice on plant care and other concerns.
If you’re not confident in repotting your plant or unsure how to do it, you can book our repotting service. Simply bring your plants to our shop, and we’ll take care of everything for you while answering all of your plant-related questions. Our repotting service includes repotting, a new nursery pot, a hand-blended, premium growing medium suitable for your plant, a plant health check, plant care advice, and sharing our plant pro tips.
Looking For More Knowledge
If you’re looking for more information on how to care for your plants, be sure to check out our other articles on plant care. We have articles on a wide range of topics, including how to treat common pests, how to choose the right soil and fertilizers, and how to propagate your plants. Our articles are packed with useful tips and information that can help you get the most out of your plants. Whether you’re a serial plant killer, a beginner or have your own lush jungle, there’s something for everyone. So take a look and see what you can learn!
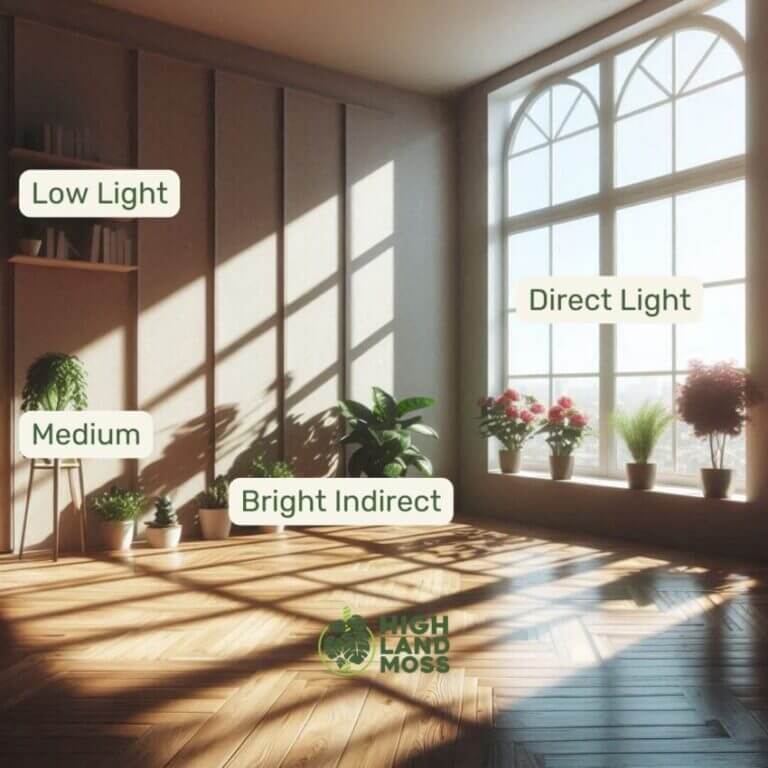
Best Indirect & medium Houseplants – Easy to Care & Suitable for Beginners
In this article we will list of our favourite and easy to care plants which will thrive in a medium, indirect lighting conditions. All those plants are easy to care and suitable for beginners! Care Tips for Medium Light Houseplants Medium and Bright Light Plants In Stock Now
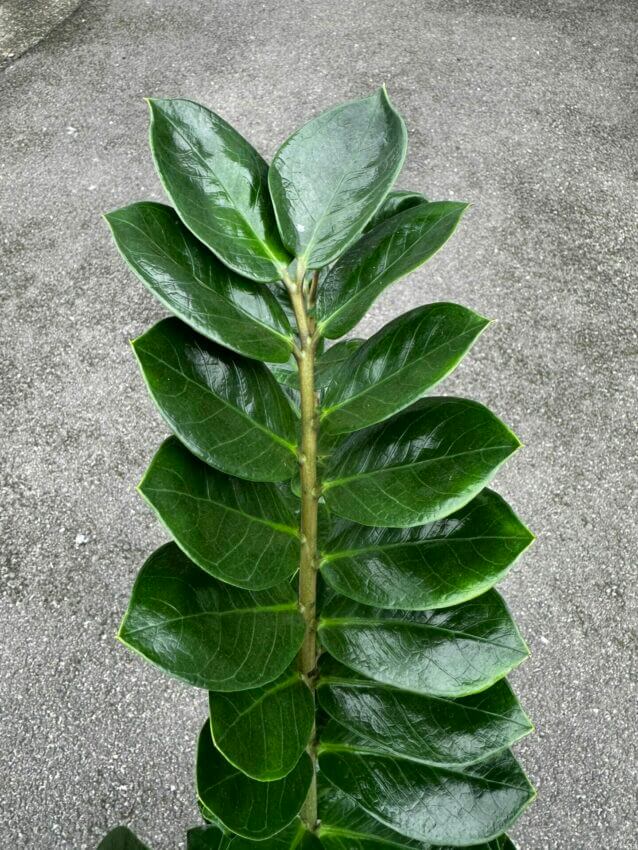
Best Low Light Houseplants – Easy to Care In Darker Spots
Growing houseplants in low and medium lighting condition may be challenging and limit your choices but with proper understanding you will be able to select plants which will thrive in those conditions. In this article we will list of our favourite plants which can handle medium and low lighting conditions. Care Tips for Low Light…

Understanding The Difference Between Direct And Indirect Sunlight for Houseplants: A Beginner’s Guide
Let us teach you about what the different light conditions you have undoubtedly seen in plant care guides mean and which plants are ideal for them.
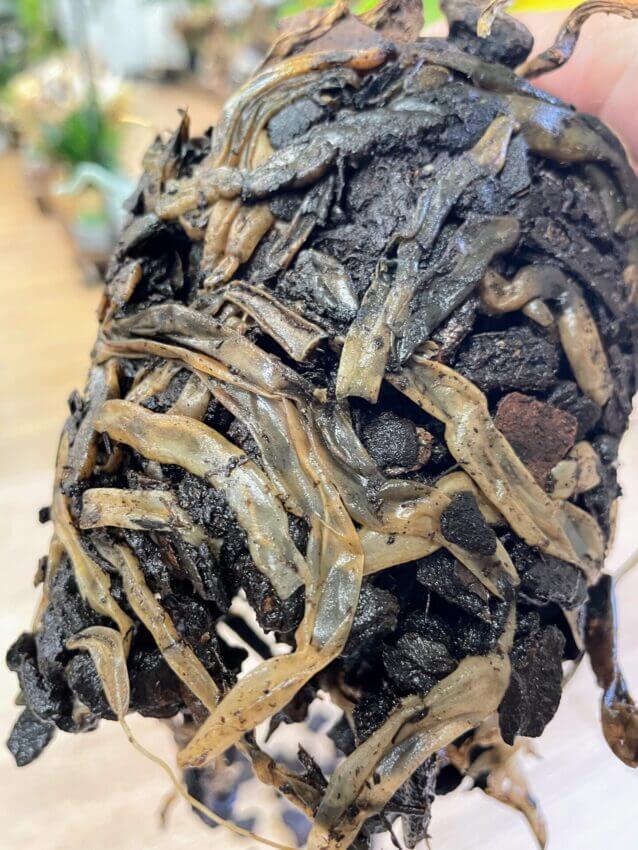
How to Save Overwatered Plants: A Guide to Recognising, Preventing, and Treating Overwatering
Overwatering houseplants is a common issue especially if you are a plant beginner which often leading to roots rot and fungus gnat infestations. Despite our best intentions, too much water can drown houseplants, causing them distress and even death. Sometimes it may not even be our fault, how many times you ‘saved’ a plant from…
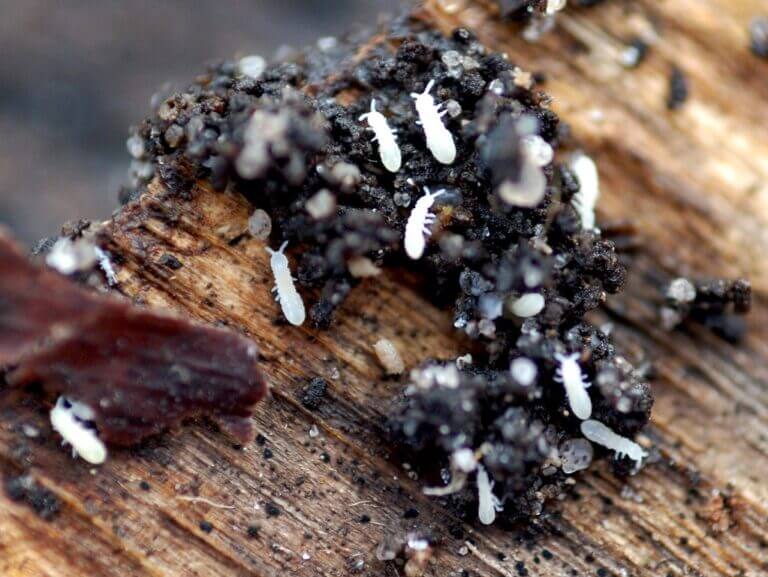
What Is That White Thing in My Houseplants Soil? the World of Beneficial Soil Organisms With Pictures
Spotting something unexpected moving in your soil can be scary and most of you probably first think about harmful pests. However, it’s important to remember that many tiny creatures in your garden, indoor pots or terrariums are there for a good reason. These beneficial organisms play a crucial role in maintaining the health and fertility…

The Green Tapestry: Unveiling the Moss Collection of Highland Moss
Introduction At Highland Moss, we are obsessed with the intricate world of mosses. Our moss selection, sourced from our private forests, showcases the beauty and versatility of these humble plants. This article dives into the details of a few of our specially curated moss varieties, each with its own story and charm. Our thanks to…


