
Fern Care Guide
Table of Content
- About
- Light
- Humidity
- Water
- Soil
- Pests & Diseases
- Feed
- Pruning & Propagating
- Repotting
- Troubleshooting & Tips
- Toxicity
- Species
- Platycerium Bifucatum (Staghorn Fern)
- Nephrolepis Exaltata (Boston/Sword Fern)
- Asparagus densiflorus (Foxtail Fern)
About
Ferns have been around almost since the dawn of time growing in damp shaded forests across the world. From tropical forests to cooler woodlands, these living relics date back almost three hundred million years. Over this time, thousands of varieties have been formed in the wild and by modern cultivators with around ten to fifteen thousand different species in existence. Even today new Fern species are still being found in unexplored areas of the world.
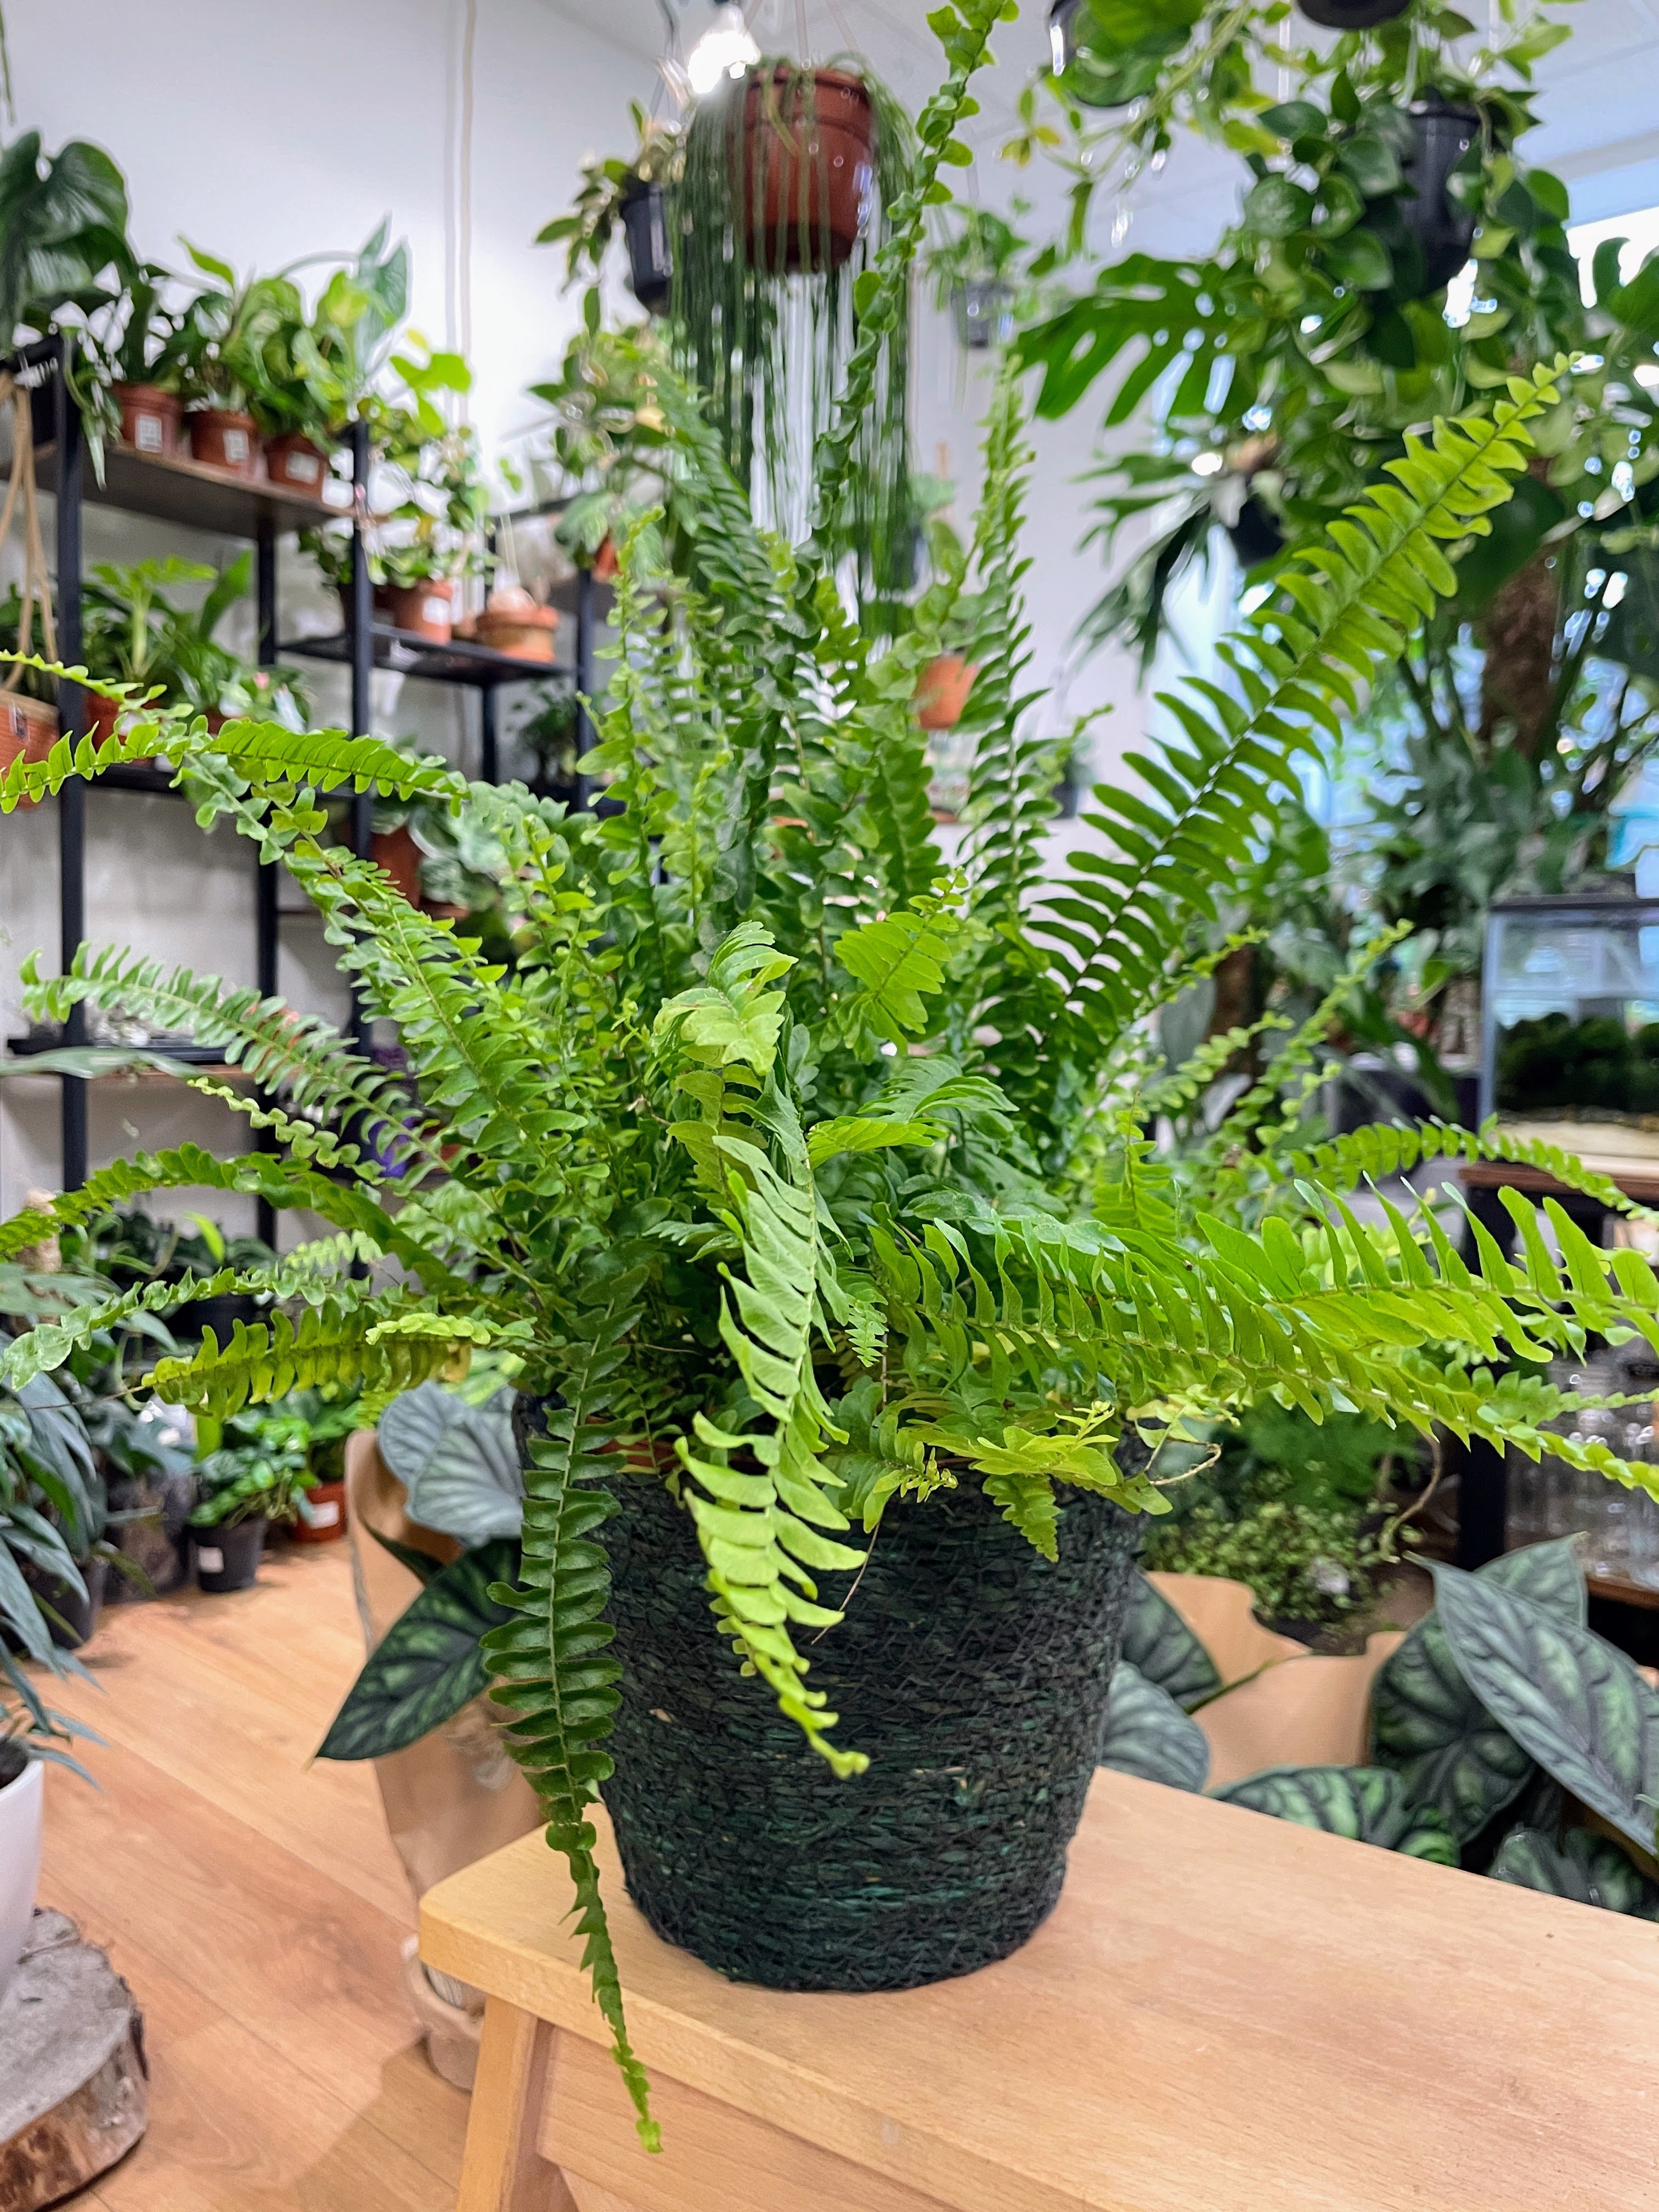
Since they first reached the houseplant scene in the early 19th century, Ferns have been some of the most rewarding houseplants out there. They can be true specimens of beauty, adding their own unique touch to interior spaces with a wide range of shapes, sizes, and textures. They are graceful and elegant plants, with many soft and delicate leaf forms. Their lush fronds can bring added tranquillity to some of the gloomiest corners of our homes.
But these plants aren’t for the haphazard beginner, to really make these plants thrive and grow to their full potential they need to be nurtured and watched with an attentive eye. But at least once you’ve learnt to take care of one Fern you should have your bases covered for any different species in the future. Most Ferns are pretty similar when it comes to their care and often the same rules apply across many different species.
Light
The common mistake that is often made with Ferns is that they can happily survive in full-shade locations or areas with very low amounts of natural light. While the plants are tolerant to shade, as houseplants they will require medium indirect light and ideally with a splash of dappled sunlight in the morning depending on the species.
While you will definitely want to keep your Fern out of the reach of direct midday to afternoon sunlight, as this will cause scorch to the fronds and the plant will quickly start losing leaves, the easy mistake to make is to underestimate the level of light these plants require to thrive. Low light levels will result in thin and leggy growth that develops very slowly, ferns should be bushy and abundant, so if your plant isn’t looking its best it may be time to find a brighter location.
Humidity
Humidity is vital to keep your Fern happy and growing vigorously. Most varieties of Ferns we keep as houseplants hail from tropical and subtropical rainforests where humidity levels are naturally very high. Ideally, these plants will be exposed to around 70% humidity in the summer months and around 40%-50% in the winter months.
It’s best to place your Fern in a room where they naturally receive a high level of humidity, these plants are perfectly suited to bathrooms and kitchens as long as they get enough light. If your Fern is in a lower humidity area of your home, misting your ferns will help, but this won’t be a long-term solution to raising the humidity.
Water
Getting the right watering schedule for your Fern is a top priority for keeping your plant at the pinnacle of health. Almost all houseplant Ferns like to be kept in continually moist soil and can quickly start struggling if they are left to dry out completely or have their watering needs neglected.
During the summer, when Ferns are likely to be absorbing the moisture from their soil at a faster rate, it can be more beneficial to water your Fern a little and often as opposed to a large amount of water less frequently. This will stop the plant from drying out completely and help them maintain the damp environment they thrive in.
By no means do you want this plant to be saturated or sitting in water for long periods, overwatering can be just as damaging as underwatering. If the fronds of your Fern are starting to drop off, without being dry and crispy to the touch, this is usually a strong indicator the plant has been overwatered.
Soil
While Ferns like to be kept moist they will still require a potting mix with a good amount of drainage and aeration as well as a good amount of organic matter like peat moss or coco-coir. This is where Fern care can become tricky, having the right balance of moisture retention but not so much that the plant holds on to too much water which can cause root rot and starve the plant of oxygen.
Houseplant compost is your best bet as this will have adequate drainage and a good base level of organic matter. You can always tweak the soil you are using by adding Perlite to aid drainage or Vermiculite to increase water retention.
Pests & Diseases
Ferns are resilient plants but can still suffer from pests. It is good practice to regularly check your plants for any signs of aphids, red spider mites, mealy bugs, and thrips. By checking regularly, you allow yourself time to prevent a full-blown attack.
The most common pests Ferns tend to suffer from are aphids and scale bugs. This will normally occur from a lack of airflow and humidity. If you can increase both of these aspects, the pests tend to subside but will need to be treated to fully get rid of the issue.
Fungus gnats can also be a common problem when keeping ferns due to high levels of moisture in the soil. A natural solution to this problem is to get a small container and add some apple cider vinegar and several drops of washing-up liquid, cover the top in cling films and poke some small holes in the top. The Gnats will be unable to resist and will move from your plant to the container where they will fall into the liquid and die.

Check our video on homemade pest remedies or head over and read are Fungus Gnat Fact Check and Home Remedies how to guide
Feed
Ferns can be vigorously growing plants when kept in the right conditions and will need semi-regular feeding to keep them happy. It’s important to keep in mind that they are a little more sensitive to liquid fertiliser than most houseplants and full-strength feed can damage the root system.
With a liquid houseplant feed, it is best to dilute this down by around ⅔ of the recommended strength. This should be an ample amount of nutrients to keep your plant happy.
If you have recently repotted your Fern the fresh nutrients in the soil will be adequate enough to keep you happy. There will be no need to add a liquid feed for 60 to 90 days after repotting, depending on the size of your plant.
During the winter months, Ferns transition into a more dormant state and will not require any feed whatsoever. As a rule, Ferns will only need a boost of nutrients as long as they are producing new growth.
Pruning & Propagating
Pruning Ferns is an important part of their care. They can develop fronds quickly and start looking messy and unruly. This can have a negative effect by reducing the air circulation through the plant which can be a quick way to develop pests.
It’s good practice throughout the year to trim away discoloured or dead fronds. Cut these off at the base of the plant be careful not to cut away any new fronds that are waiting to unfurl.
If you have a more mature plant these can benefit from heavy pruning once a year, in mid-spring, or when the plant is repotted. It is okay to be heavy-handed with this kind of pruning as Ferns often respond well to this with an abundance of fresh and healthy new growth. Just be careful not to trim away any new growth that is tucked away as the base of the plant waiting to unfurl.
Always use a clean and sterilised pair of scissors or secateurs to trim back!
Dividing Ferns is a really simple and easy job because they grow from rhizomes, the natural division points are clear to see and will often only need a gentle pull apart. Ensure that each clump of fronds has a decent amount of roots attached before pulling it away from the main root ball. With especially large or mature Ferns it may be tricky to pull these clumps apart as the roots will be tangled forming a strong bond between clumps. In this case, it is best to use a sterilised sharp knife to cut through the root ball, again ensuring to leave a decent amount of roots on each section you are dividing.
If you are after a challenge you can try and propagate your Fern from its spores. Fern spores are found on the underside of the leaf and sometimes can be mistaken for a pest. These tiny spores are an off-colour mix of orange and brown and when ready to harvest become plump and produce fuzzy outer hairs.
To use these spores to make more plants, pick a healthy frond, trim it from the base and place it in a clear plastic bag to dry out.
Once the leaf is completely dry, shake the bag. The dried-out spores should naturally find their way to the bottom of the bag. Remove the leaf and you now have some ready-to-use spores
Find a small terracotta pot and fill it will a peat-rich potting mix. Regular houseplant compost should suffice. Place the spores on the top of the soil and gently sprinkle over a thin top layer of compost.
Place the pot in an undertray of water and allow the water to fully saturated the soil.
Once the soil is saturated, place the pot in a clear plastic bag and place it in a warm and sunny location, which must be between 18°C-28°C.
The spore will take a fair amount of time before you start seeing any signs of life. A green slime-like coating should start to appear on the surface of the soil, this indicates that the process has begun and from this point, it may take two to three months before small fronds start to appear.
Repotting
Ferns should only be repotted when they have become root bound.
If you have reached your maximum pot size you can either trim back the roots allowing them more space to grow or if the roots still have space in the pot to grow you can top-dress the plant once a year with a fresh layer of soil to replenish the nutrients.
The best time to repot a Fern is when spring arrives. Outside temperatures will rise and the daylight hours will increase. When this happens Ferns will react quickly to the environmental change and start producing lots of new foliage growth.
You will need to pick a pot with decent drainage, we don’t want excess water hanging around the roots.
Next, fill a third of the way up with your potting mix and place the root ball of the plant in the centre of the pot.
Fill the pot with the rest of your potting mix and firm down the soil.
When you’ve finished and got your plant back in the perfect spot you can give it a thorough watering to settle the plant into its new pot. Keep a close eye on it for the first couple of weeks and then relax back into your normal watering and feeding schedule. Avoid feeding for the next 8 to 12 weeks as this influx of additional nutrients can cause damage to the root system and make it difficult for the plant to settle into its new environment.
Troubleshooting & Tips
- Ferns need good airflow to keep them happy and less susceptible to pests and disease so, make sure they are regularly trimmed.
- Ferns are sensitive to feed so feeding your Fern should be done after the plant has been watered. This will reduce the risk of shock and root scorch.
- Grouping Ferns together can help to improve the humidity and make their care a bit easier.
- Moisture is key to keeping Ferns happy. Planting your fern in a terracotta pot and then placing the pot into a large ceramic pot filled with compost will help to keep moisture levels high but not saturated.
- Brown and crispy leaves are a surefire indicator that the humidity or moisture levels in the soil are too low.
- If the plant is producing yellow leaves in the centre this is a sign there is too much moisture sitting on the foliage, this normally occurs from watering your plant through the foliage.
- Always do some research on the type of Fern you are caring for, some like higher temperatures than others. Some, like the Asparagus Fern, are not actually ferns so will need different care to keep them happy.
Toxicity
Most varieties of indoor Ferns are non-toxic to animals and humans. There are a few exceptions to this where some Ferns can be toxic to cats and dogs if ingested. So it is always best to check about the individual species you have.
Species
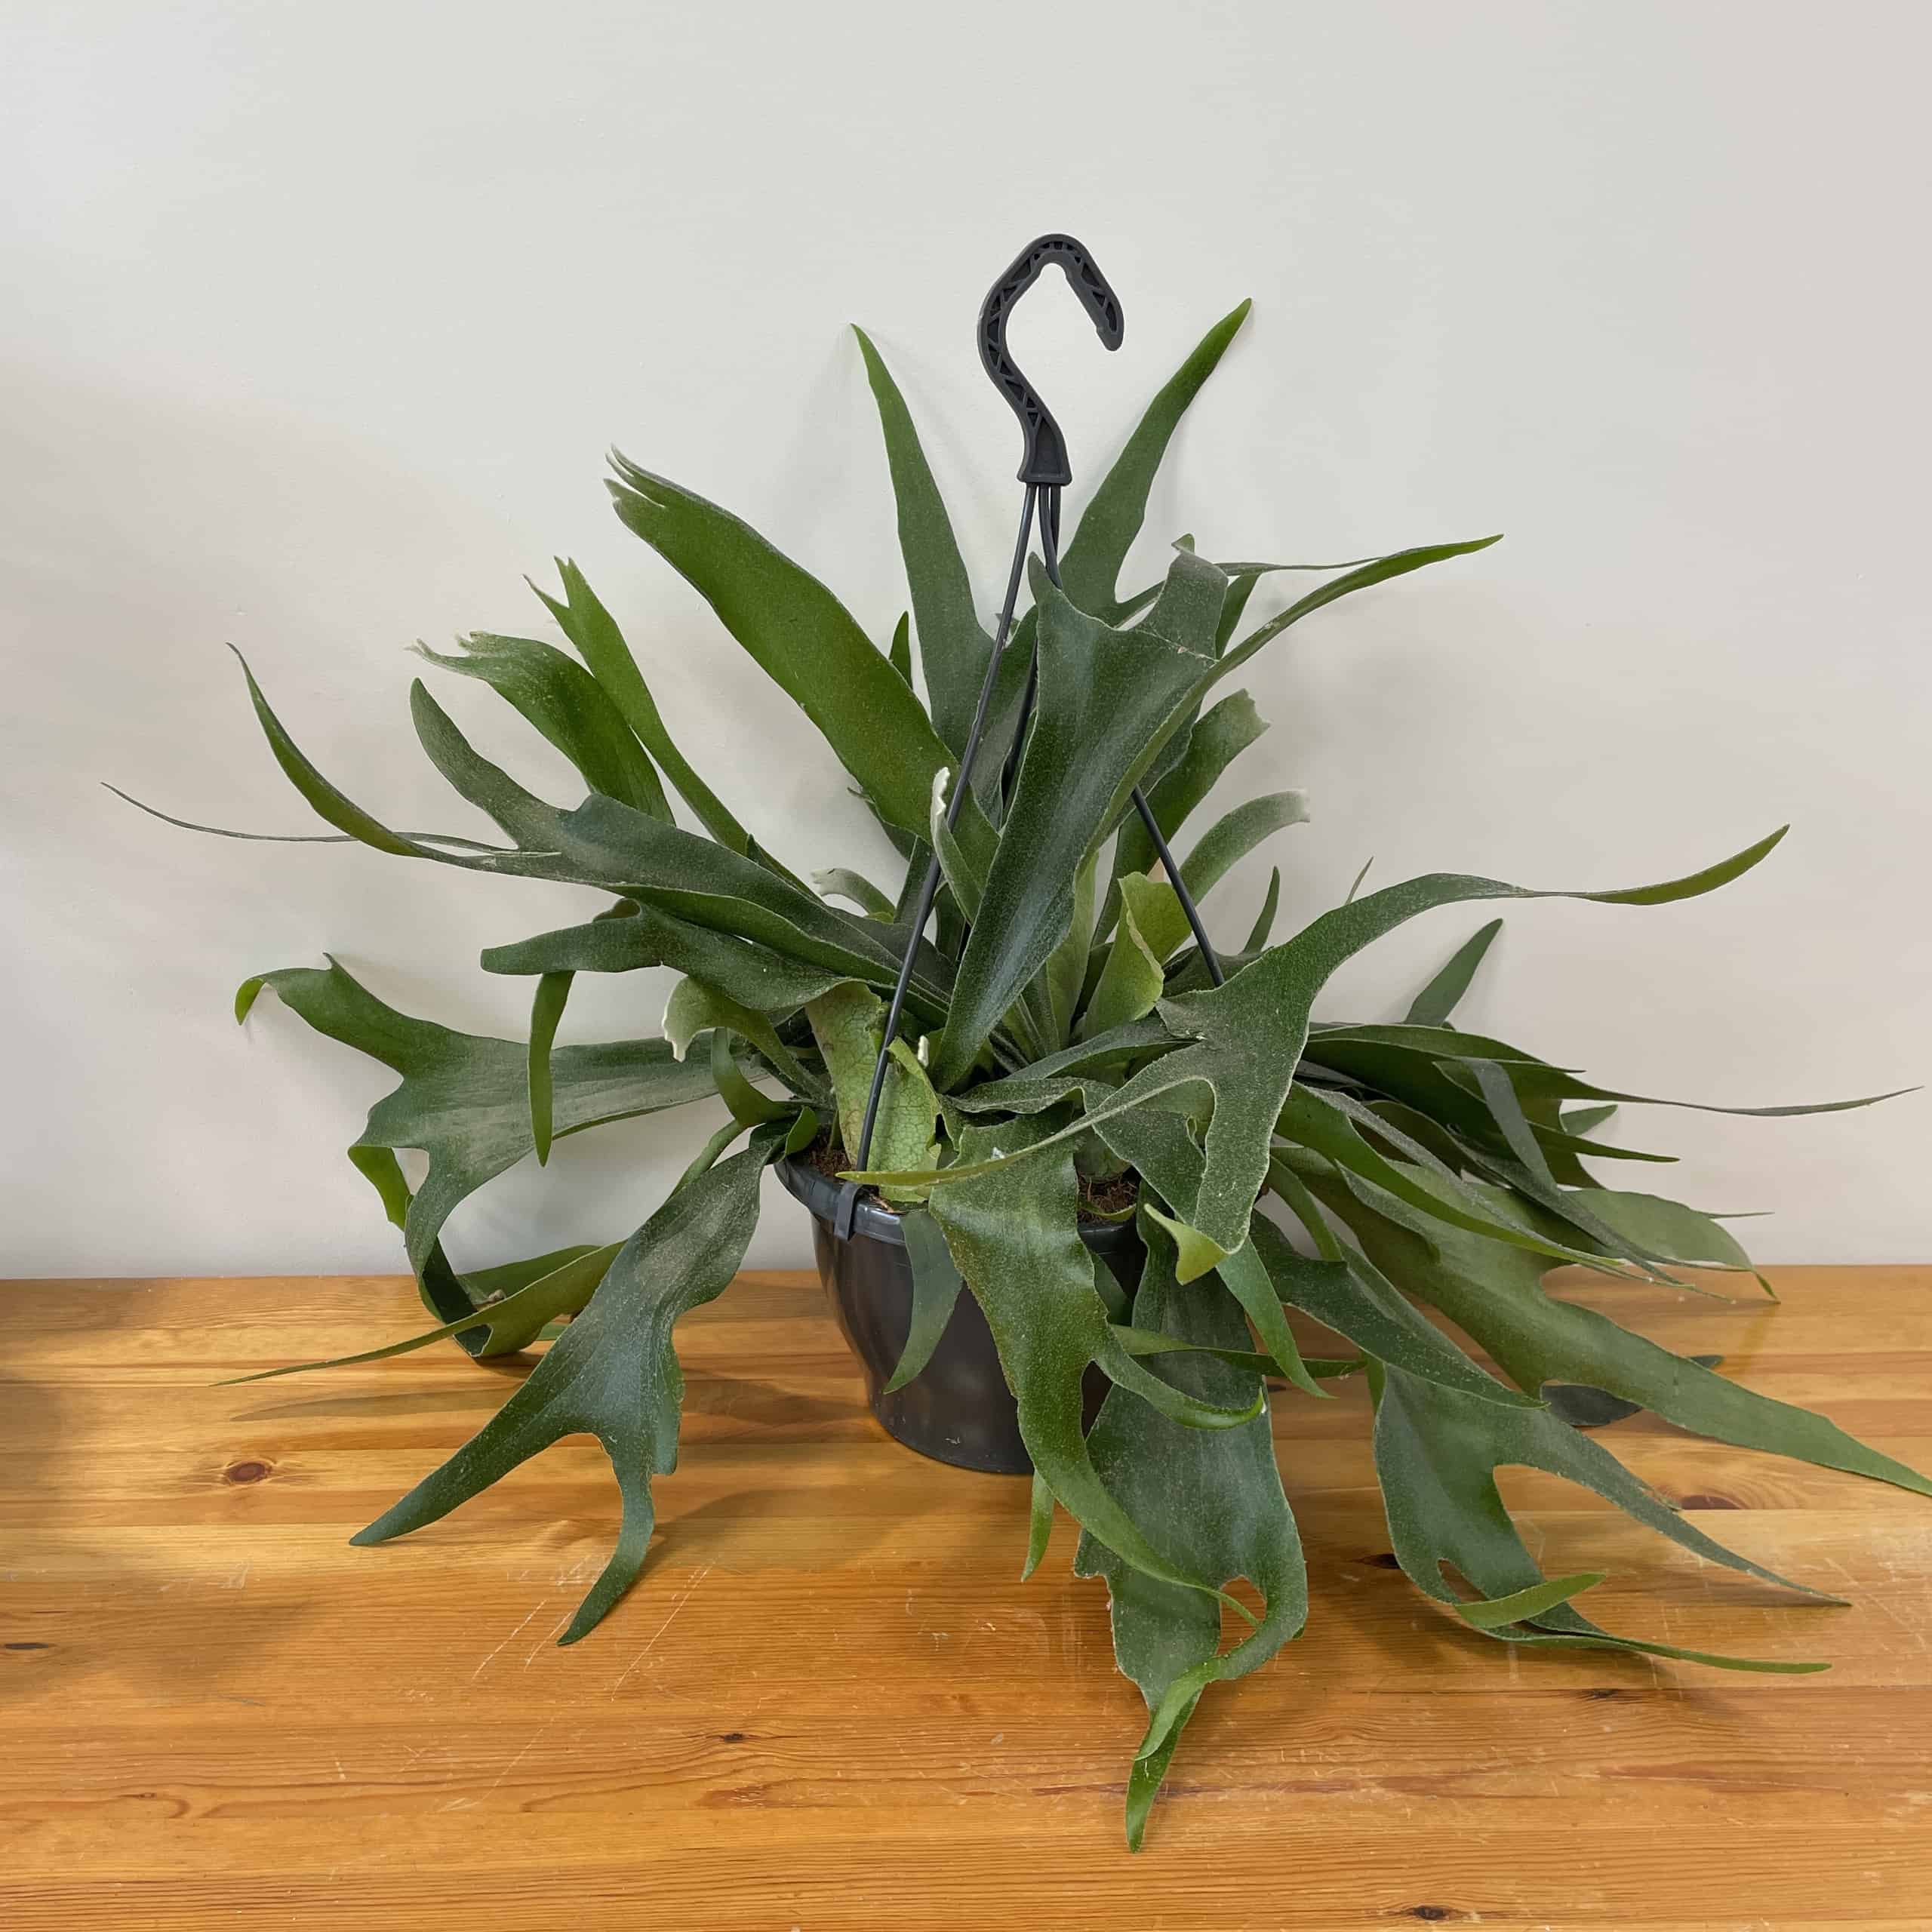
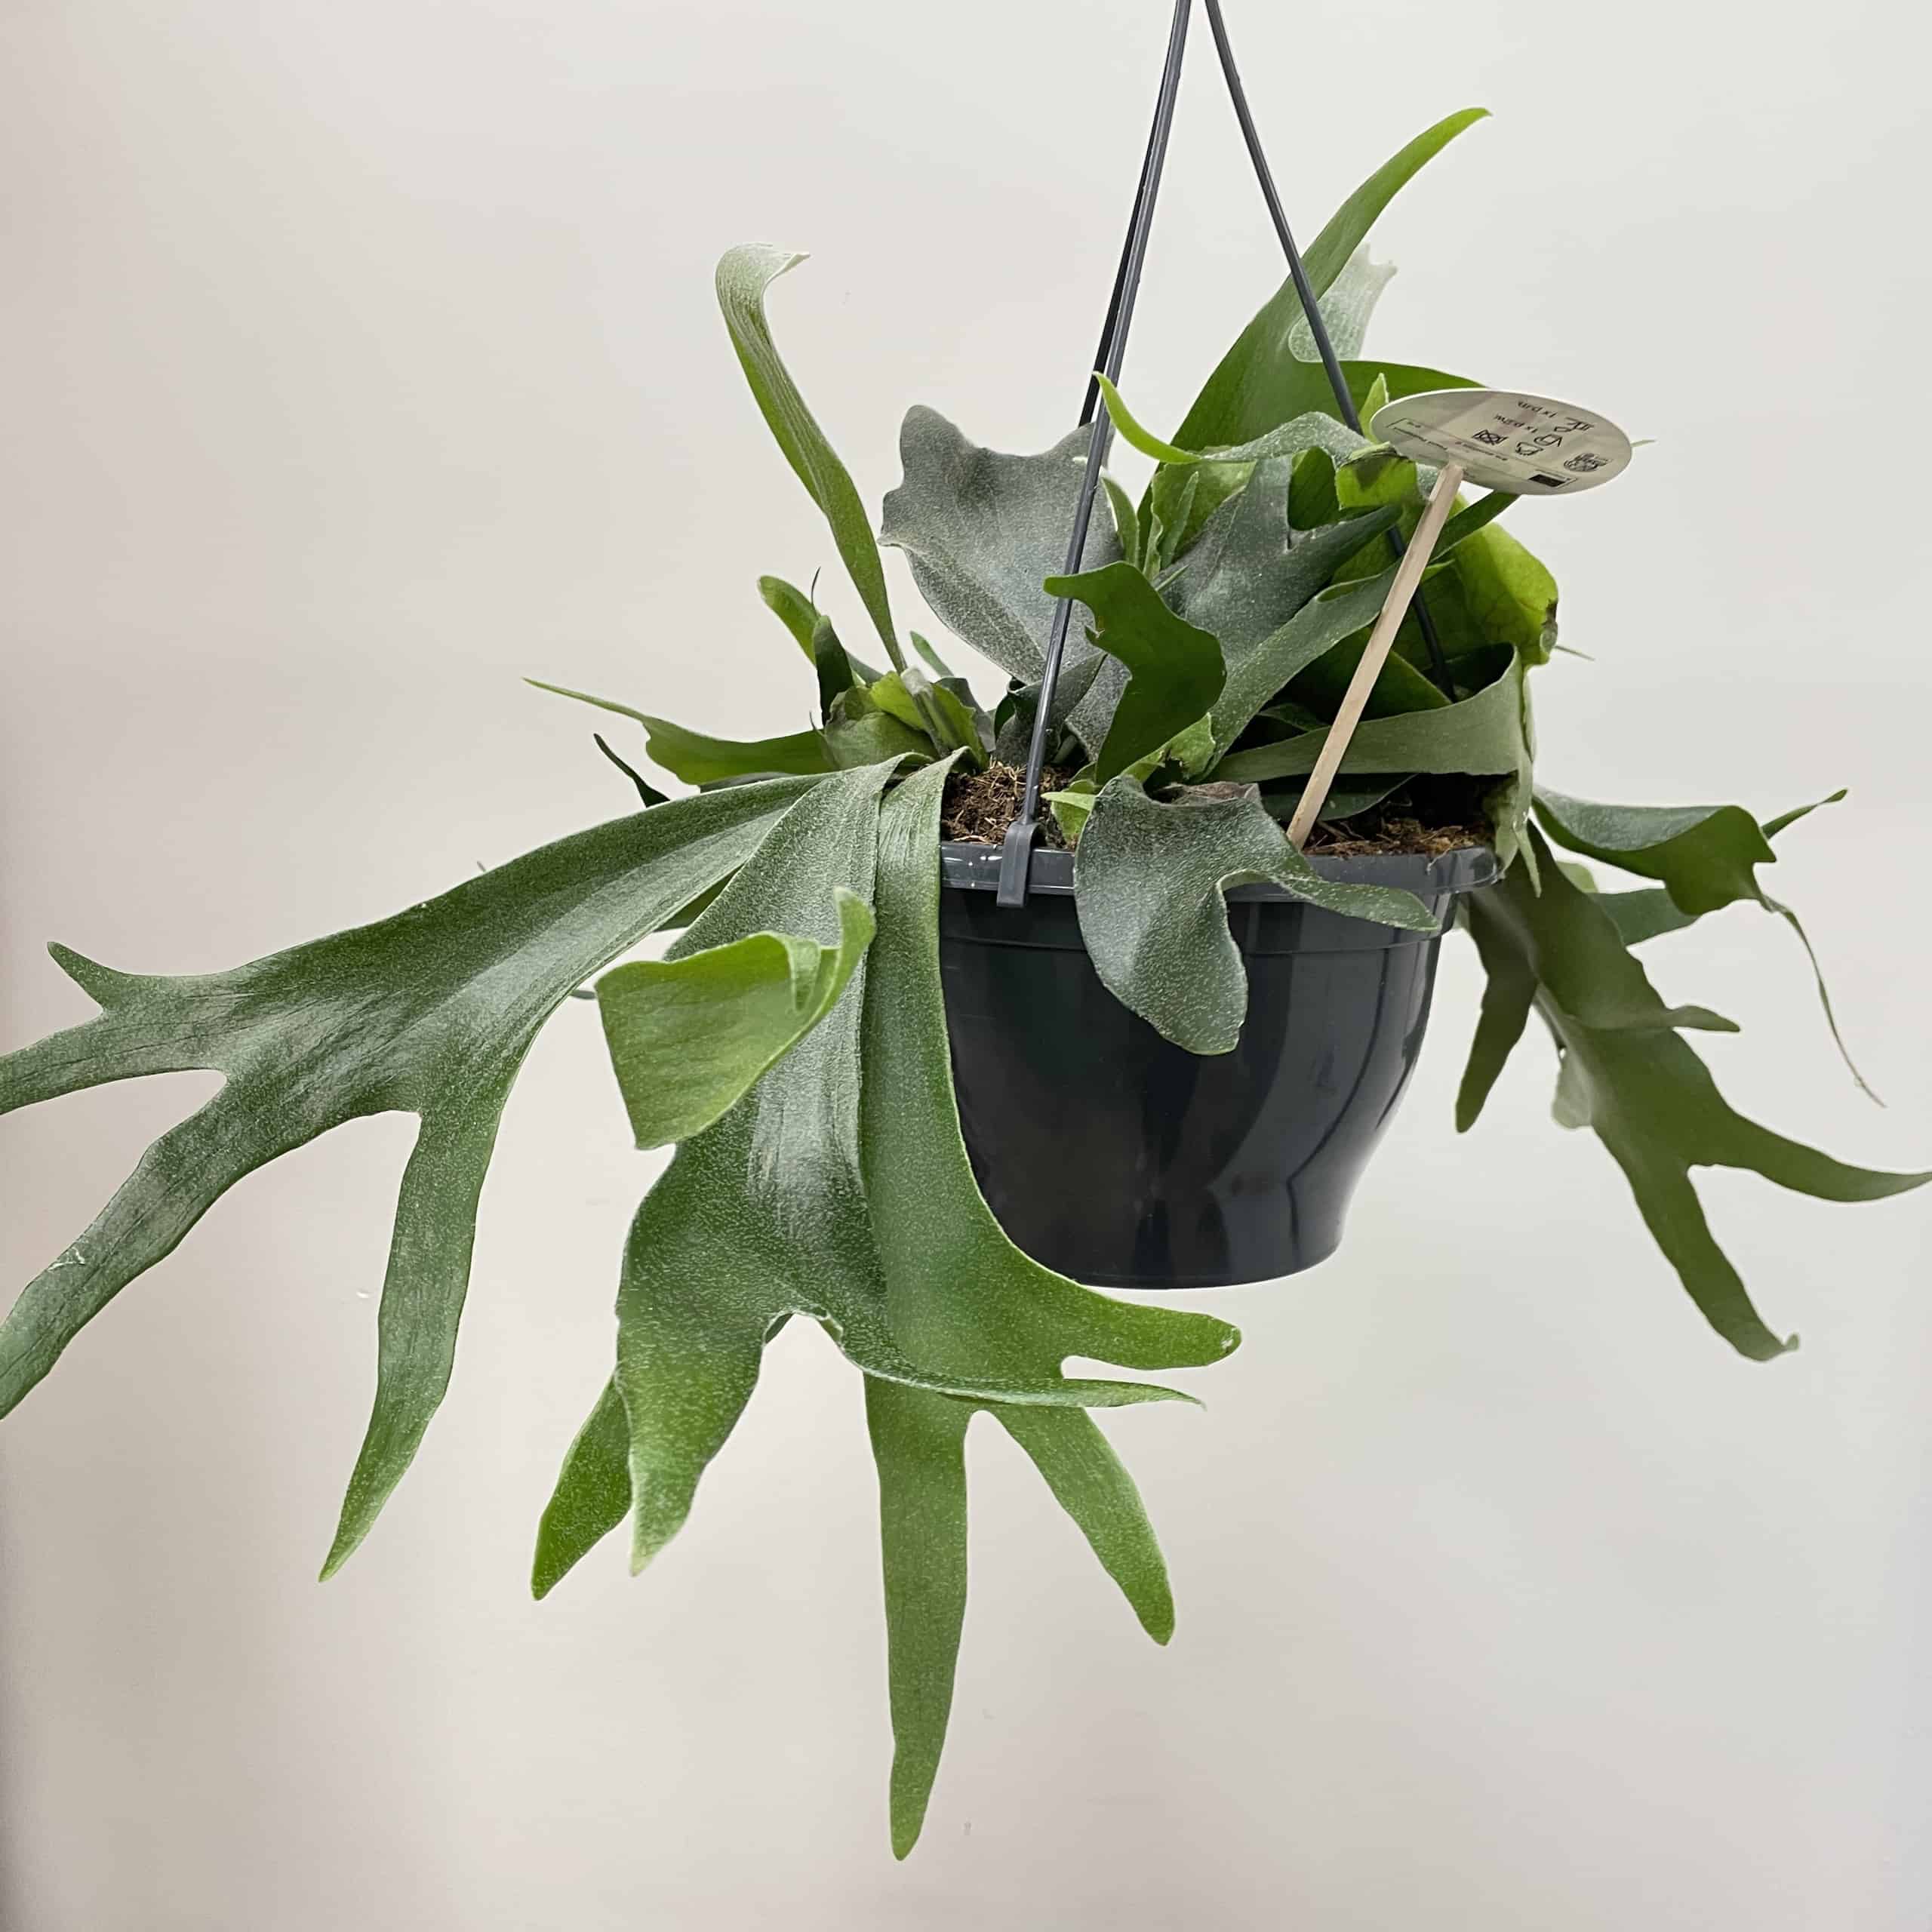
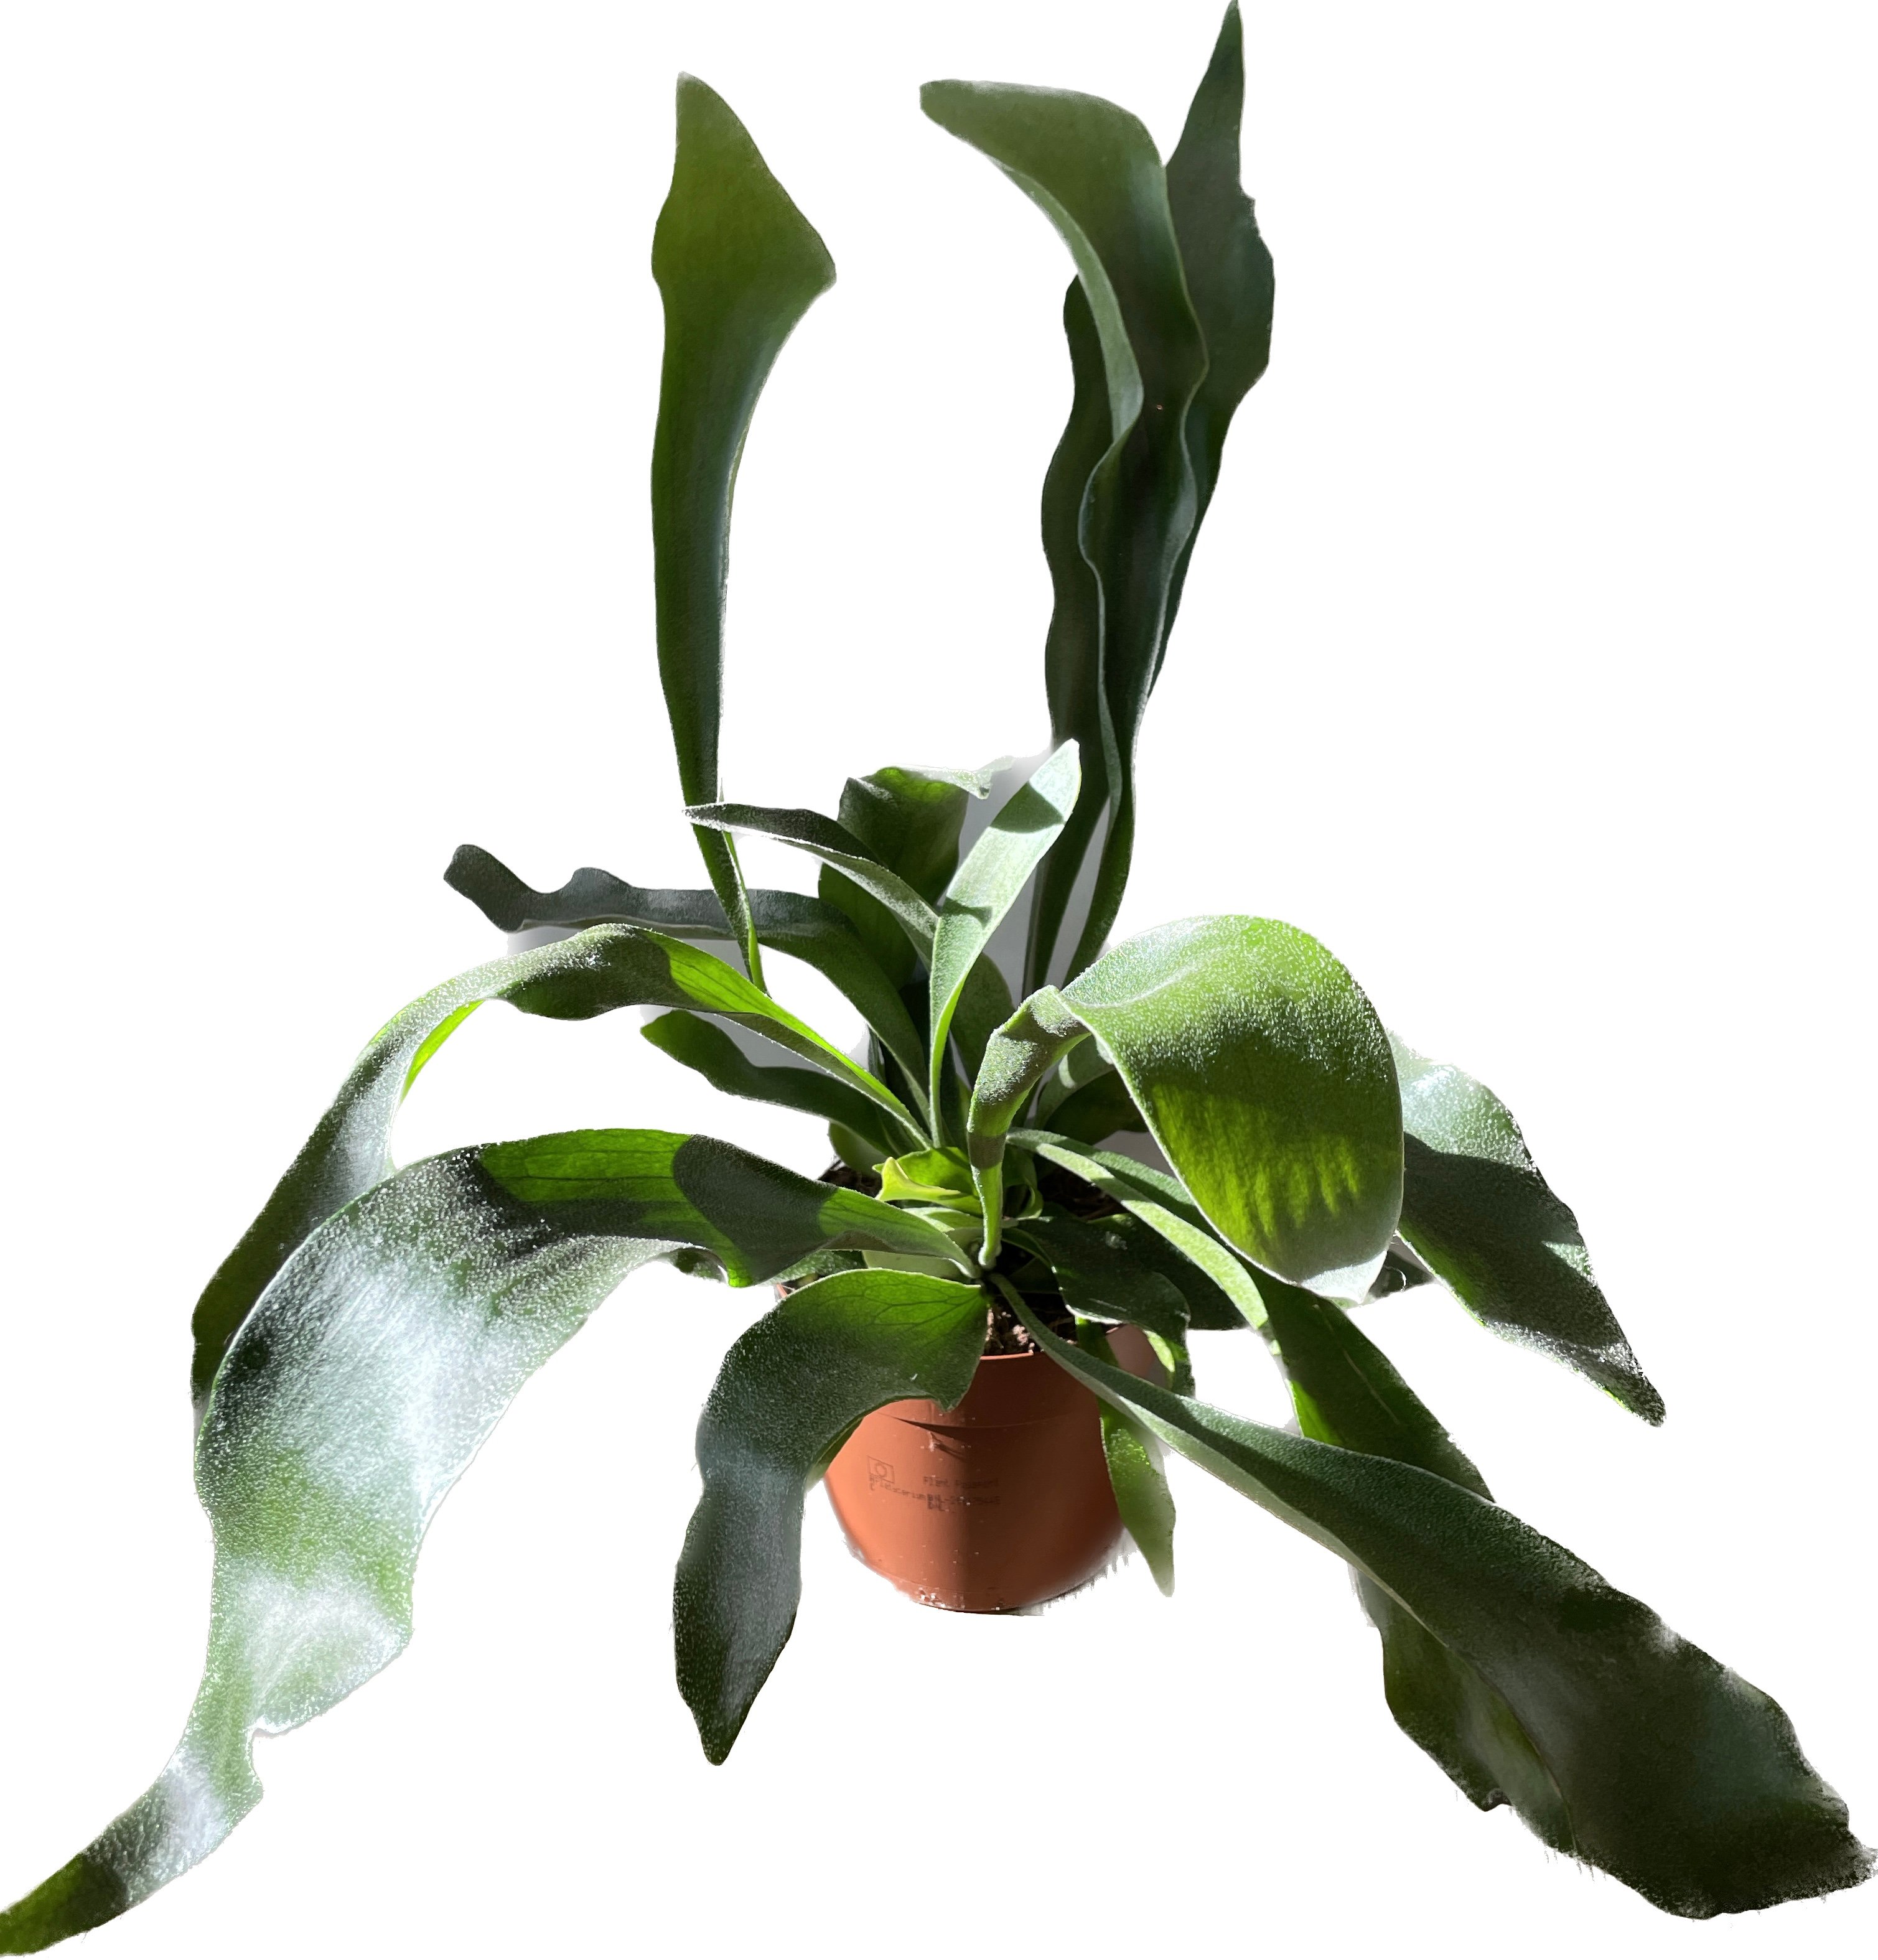
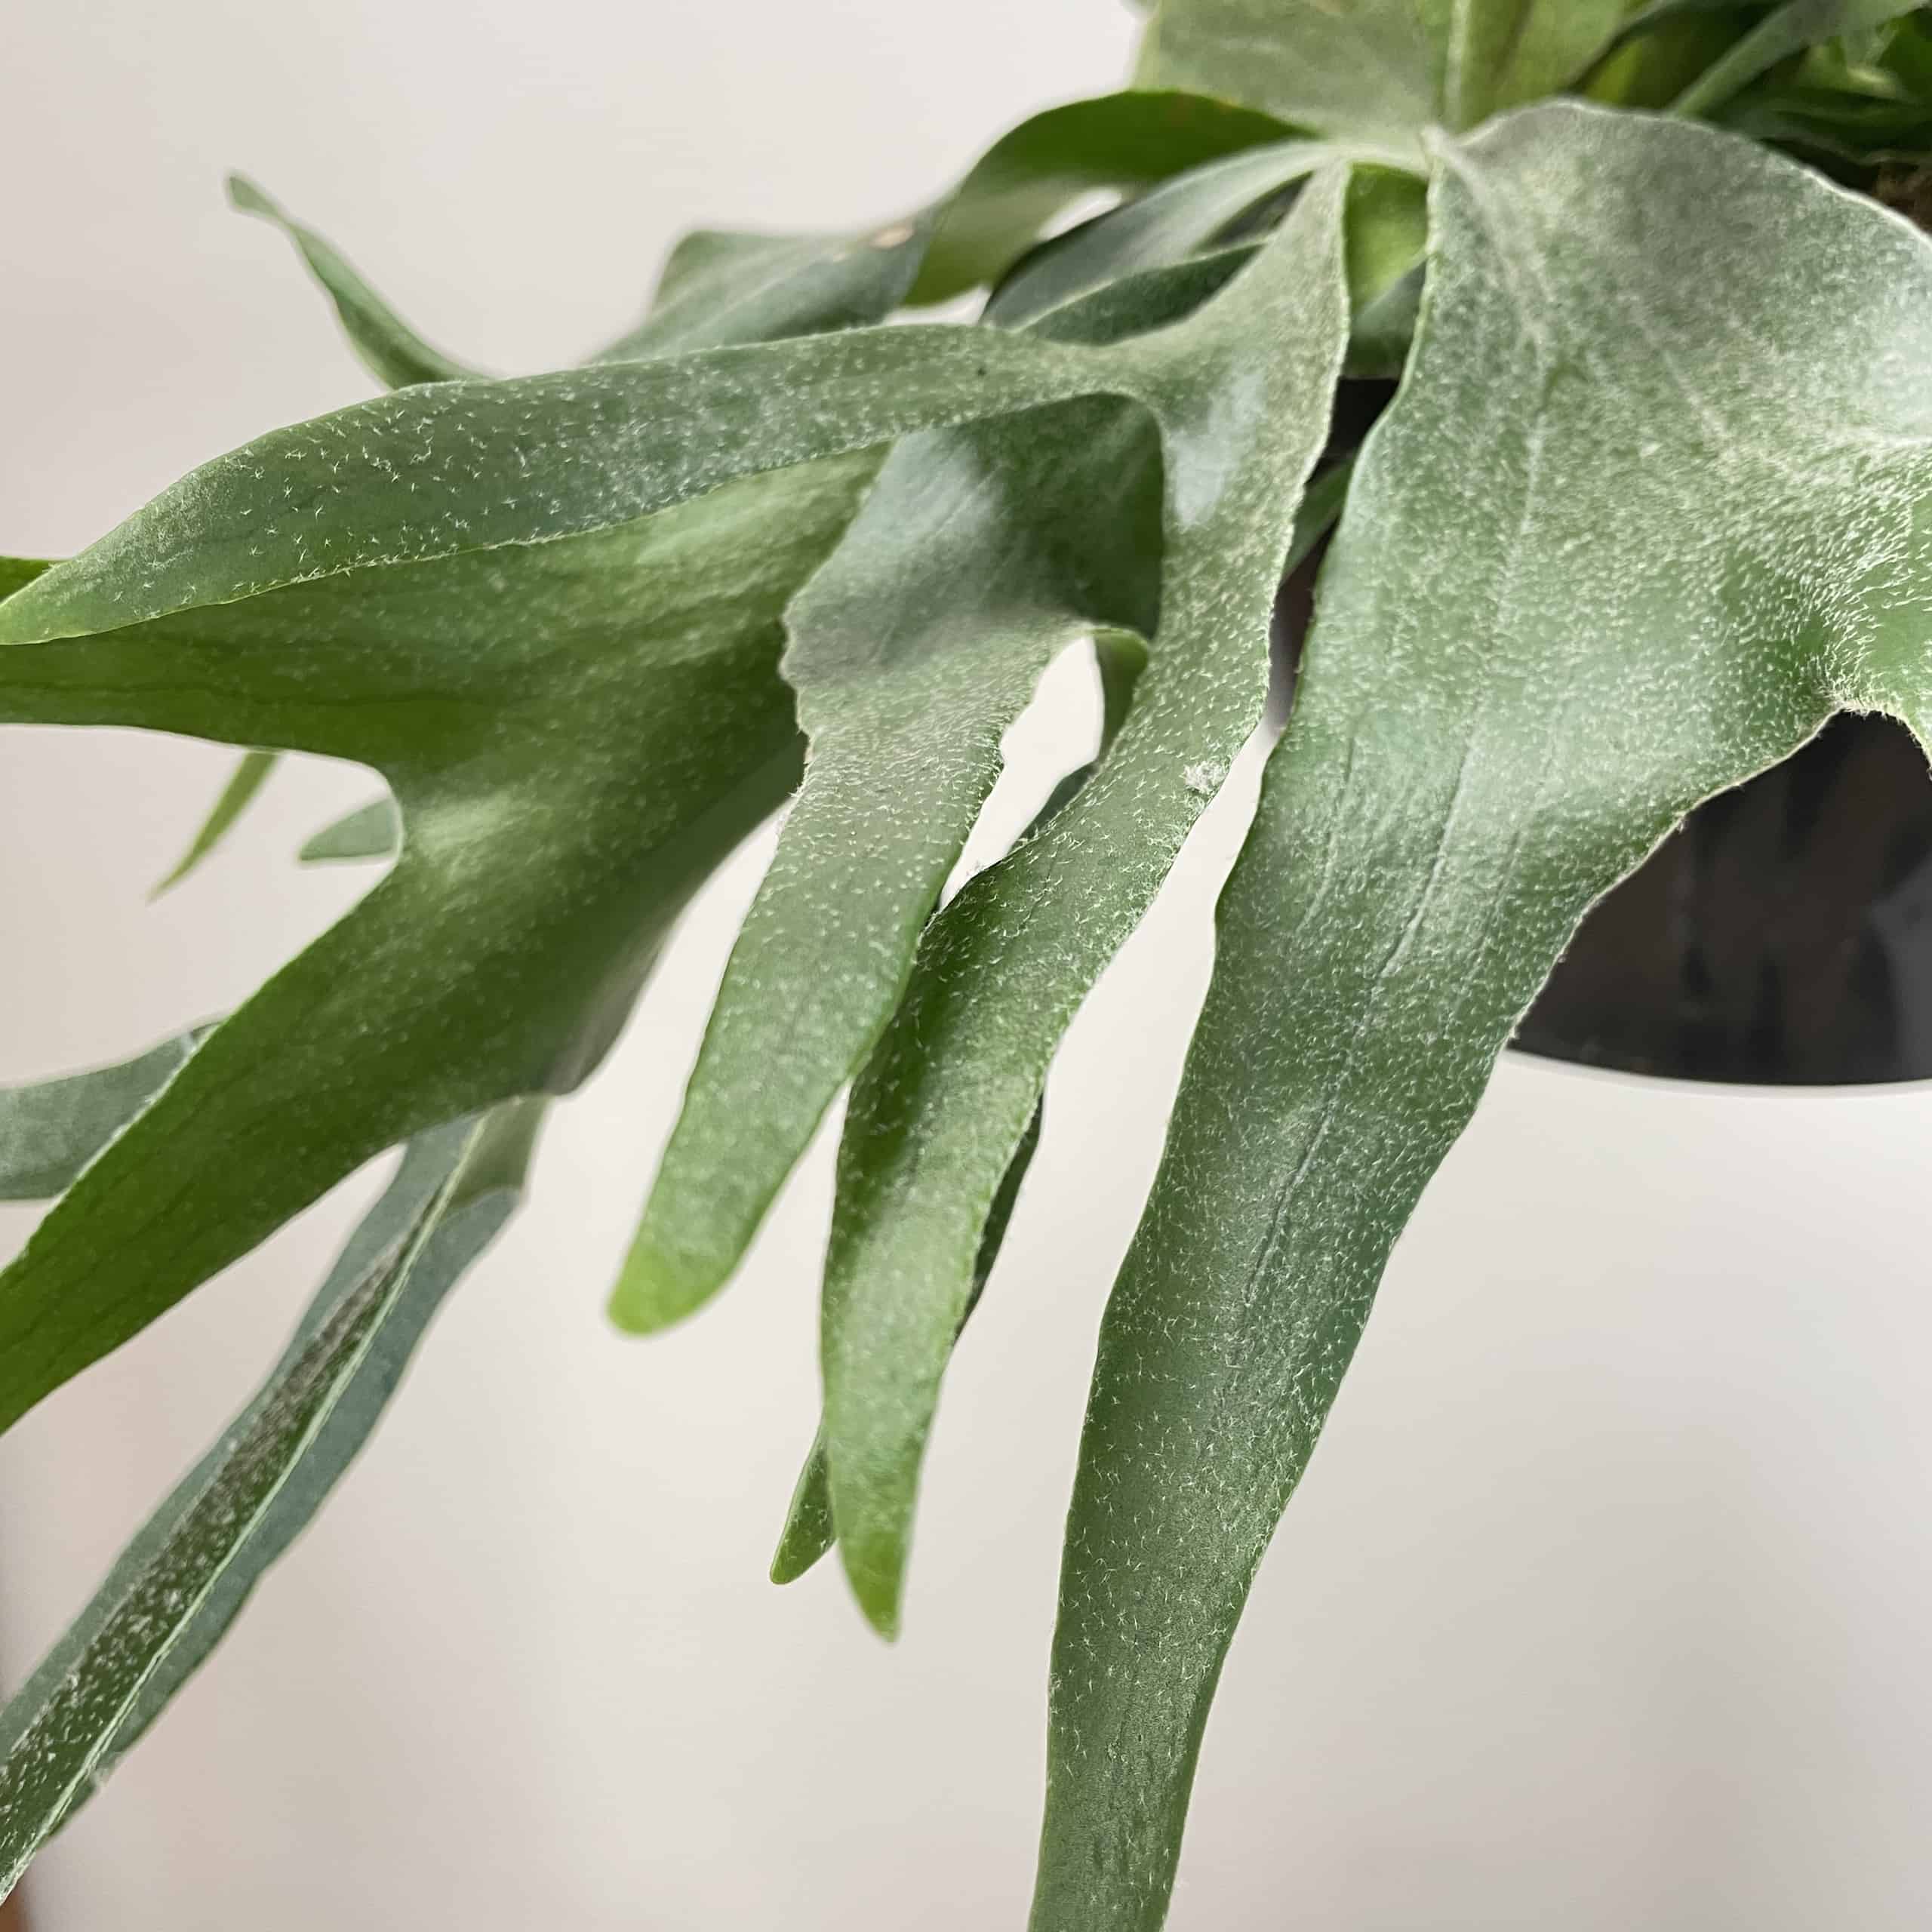
Platycerium Bifucatum (Staghorn Fern)
One of the most striking examples of a Fern, this gorgeous plant is hard to overlook. Creating two types of fronds, one dark green and shaped like antlers and the other fronds give this plant a weird appearance, from the base of the plant it produces what almost looks like a mushroom, a round and flat frond that turns a light brown as it matures. These plants are also epiphytes so can be used for some striking displays, a great option is to remove the soil, spread the roots over some driftwood and wrap them with moss this makes for a gorgeous feature in any plant display.
Nephrolepis Exaltata (Boston/Sword Fern)
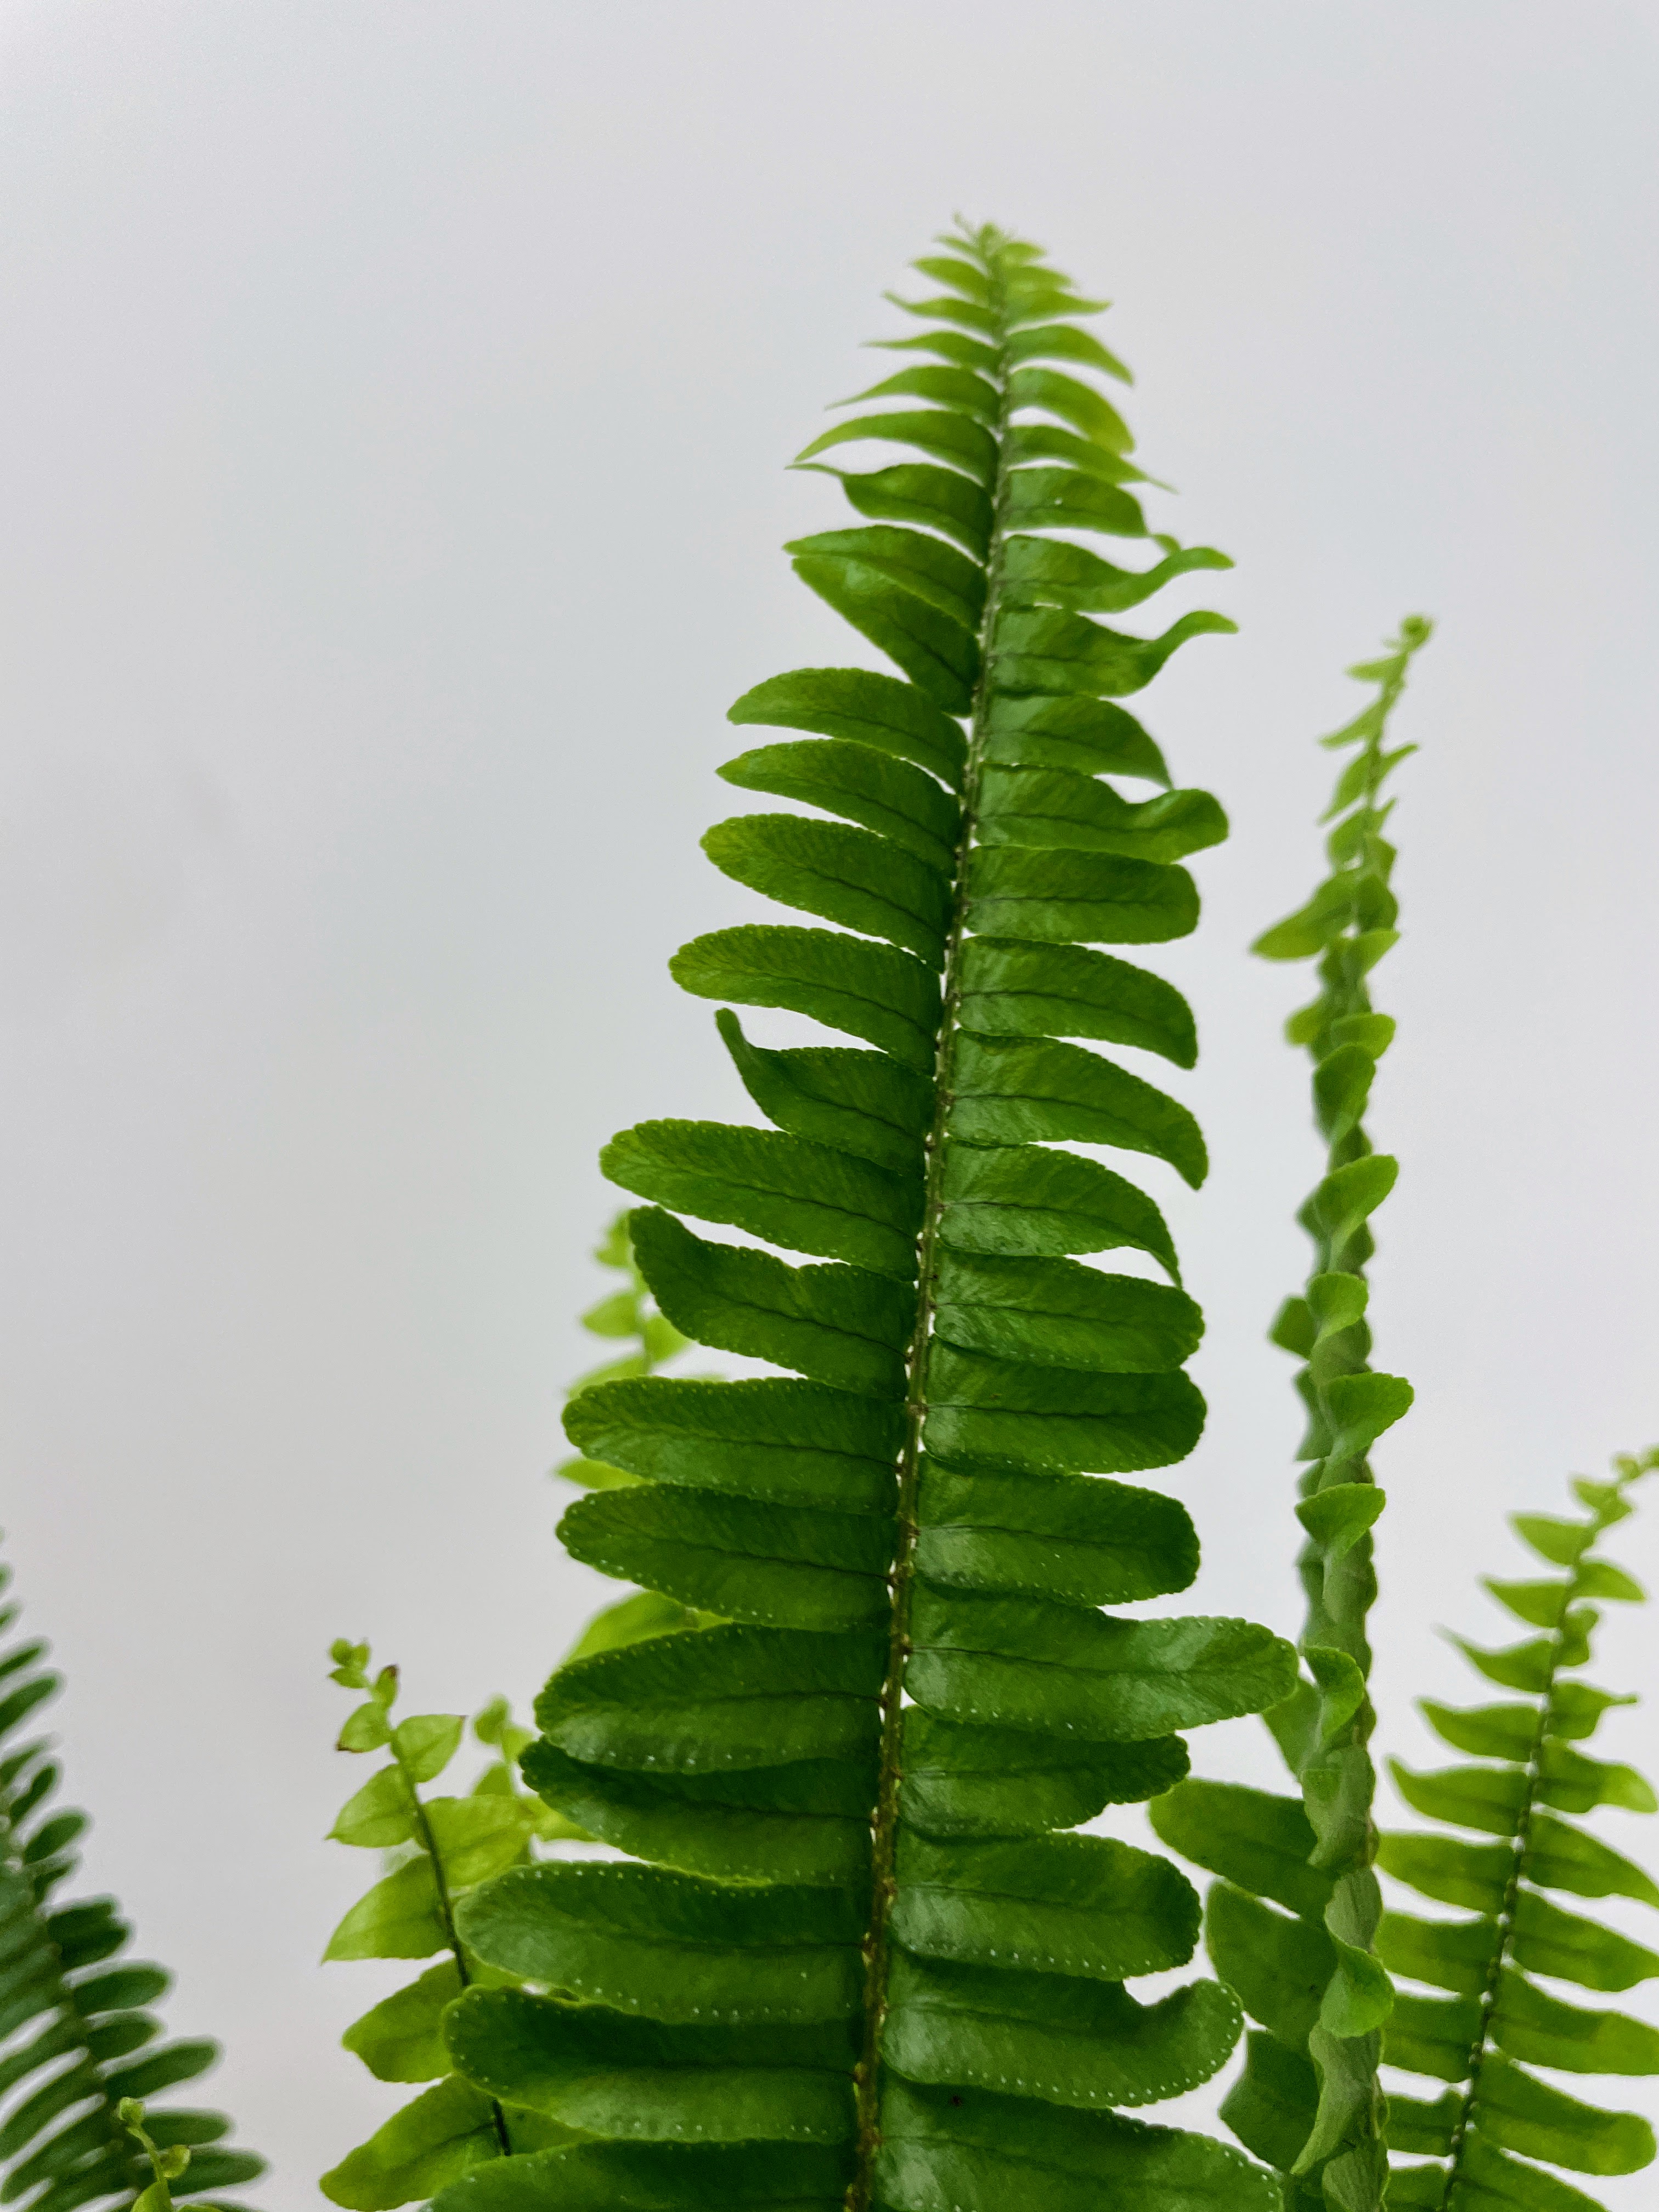
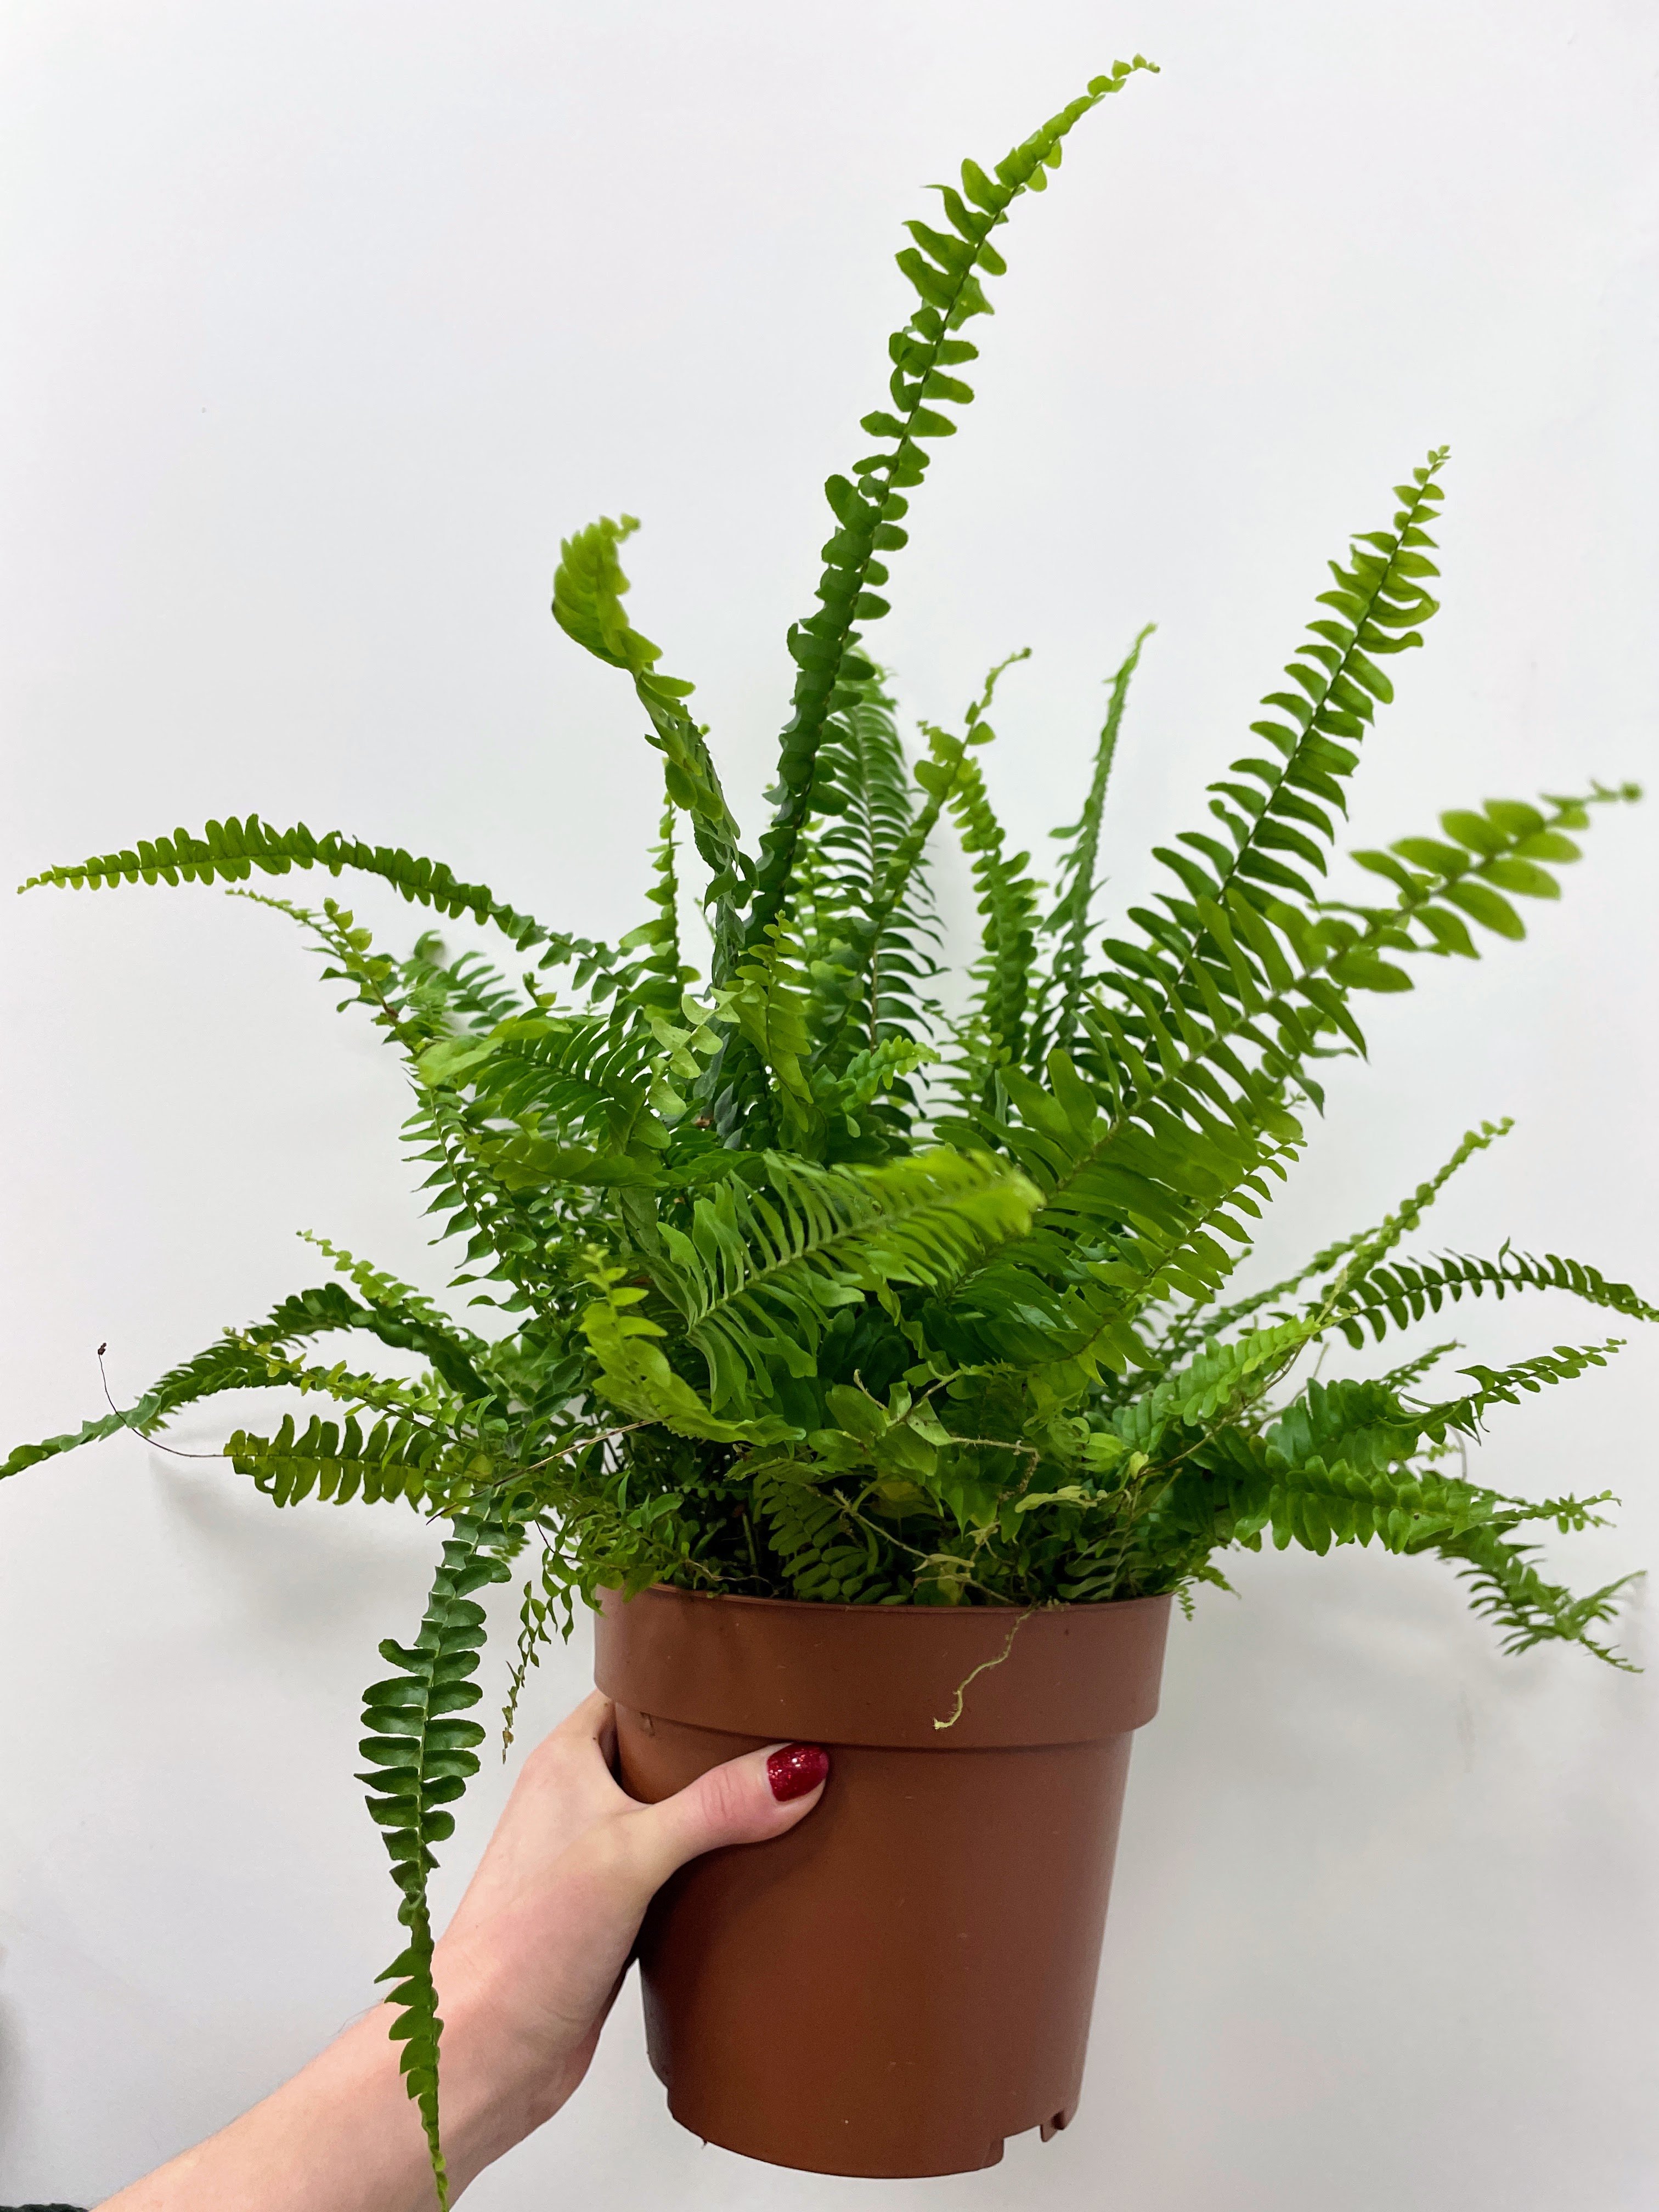
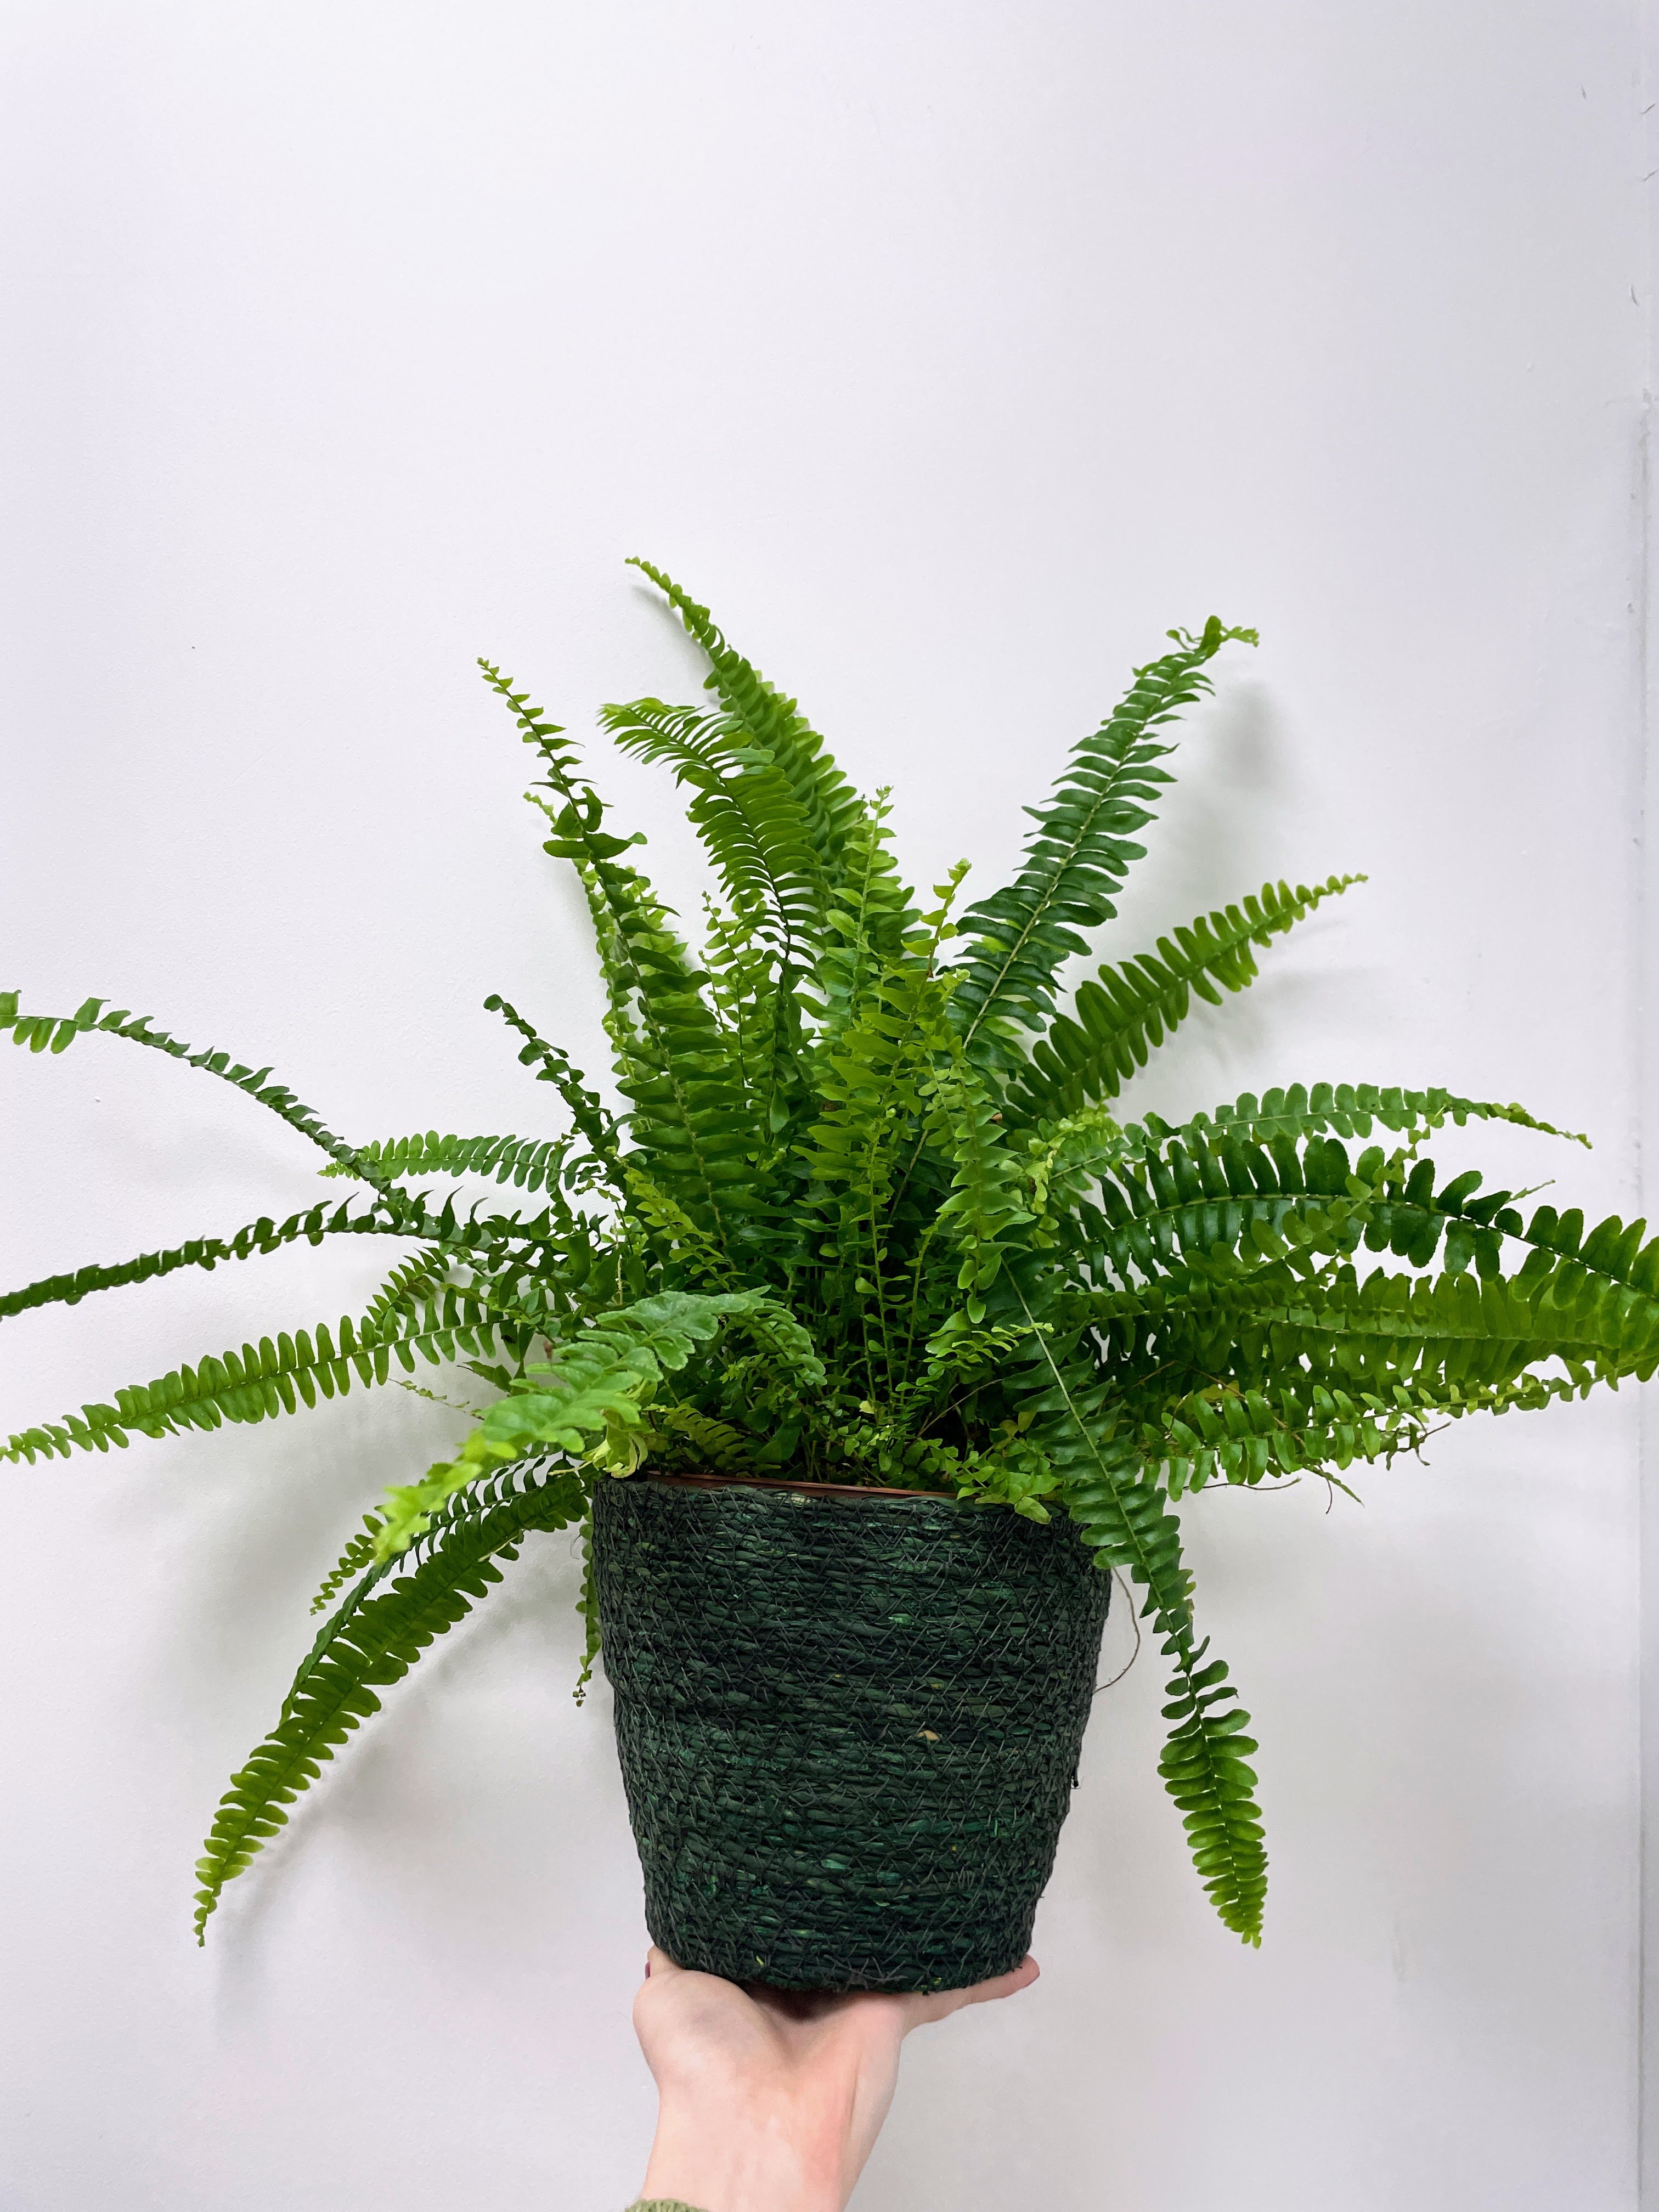
A firm fan favourite, this easy-to-care-for Fern has made it hugely popular. The rich green fronds look like a fountain, gracefully arching out from the centre. With the ability to grow a little over half a metre in width and height, this Fern is perfect for hanging baskets or high shelves where the fronds can cascade down.

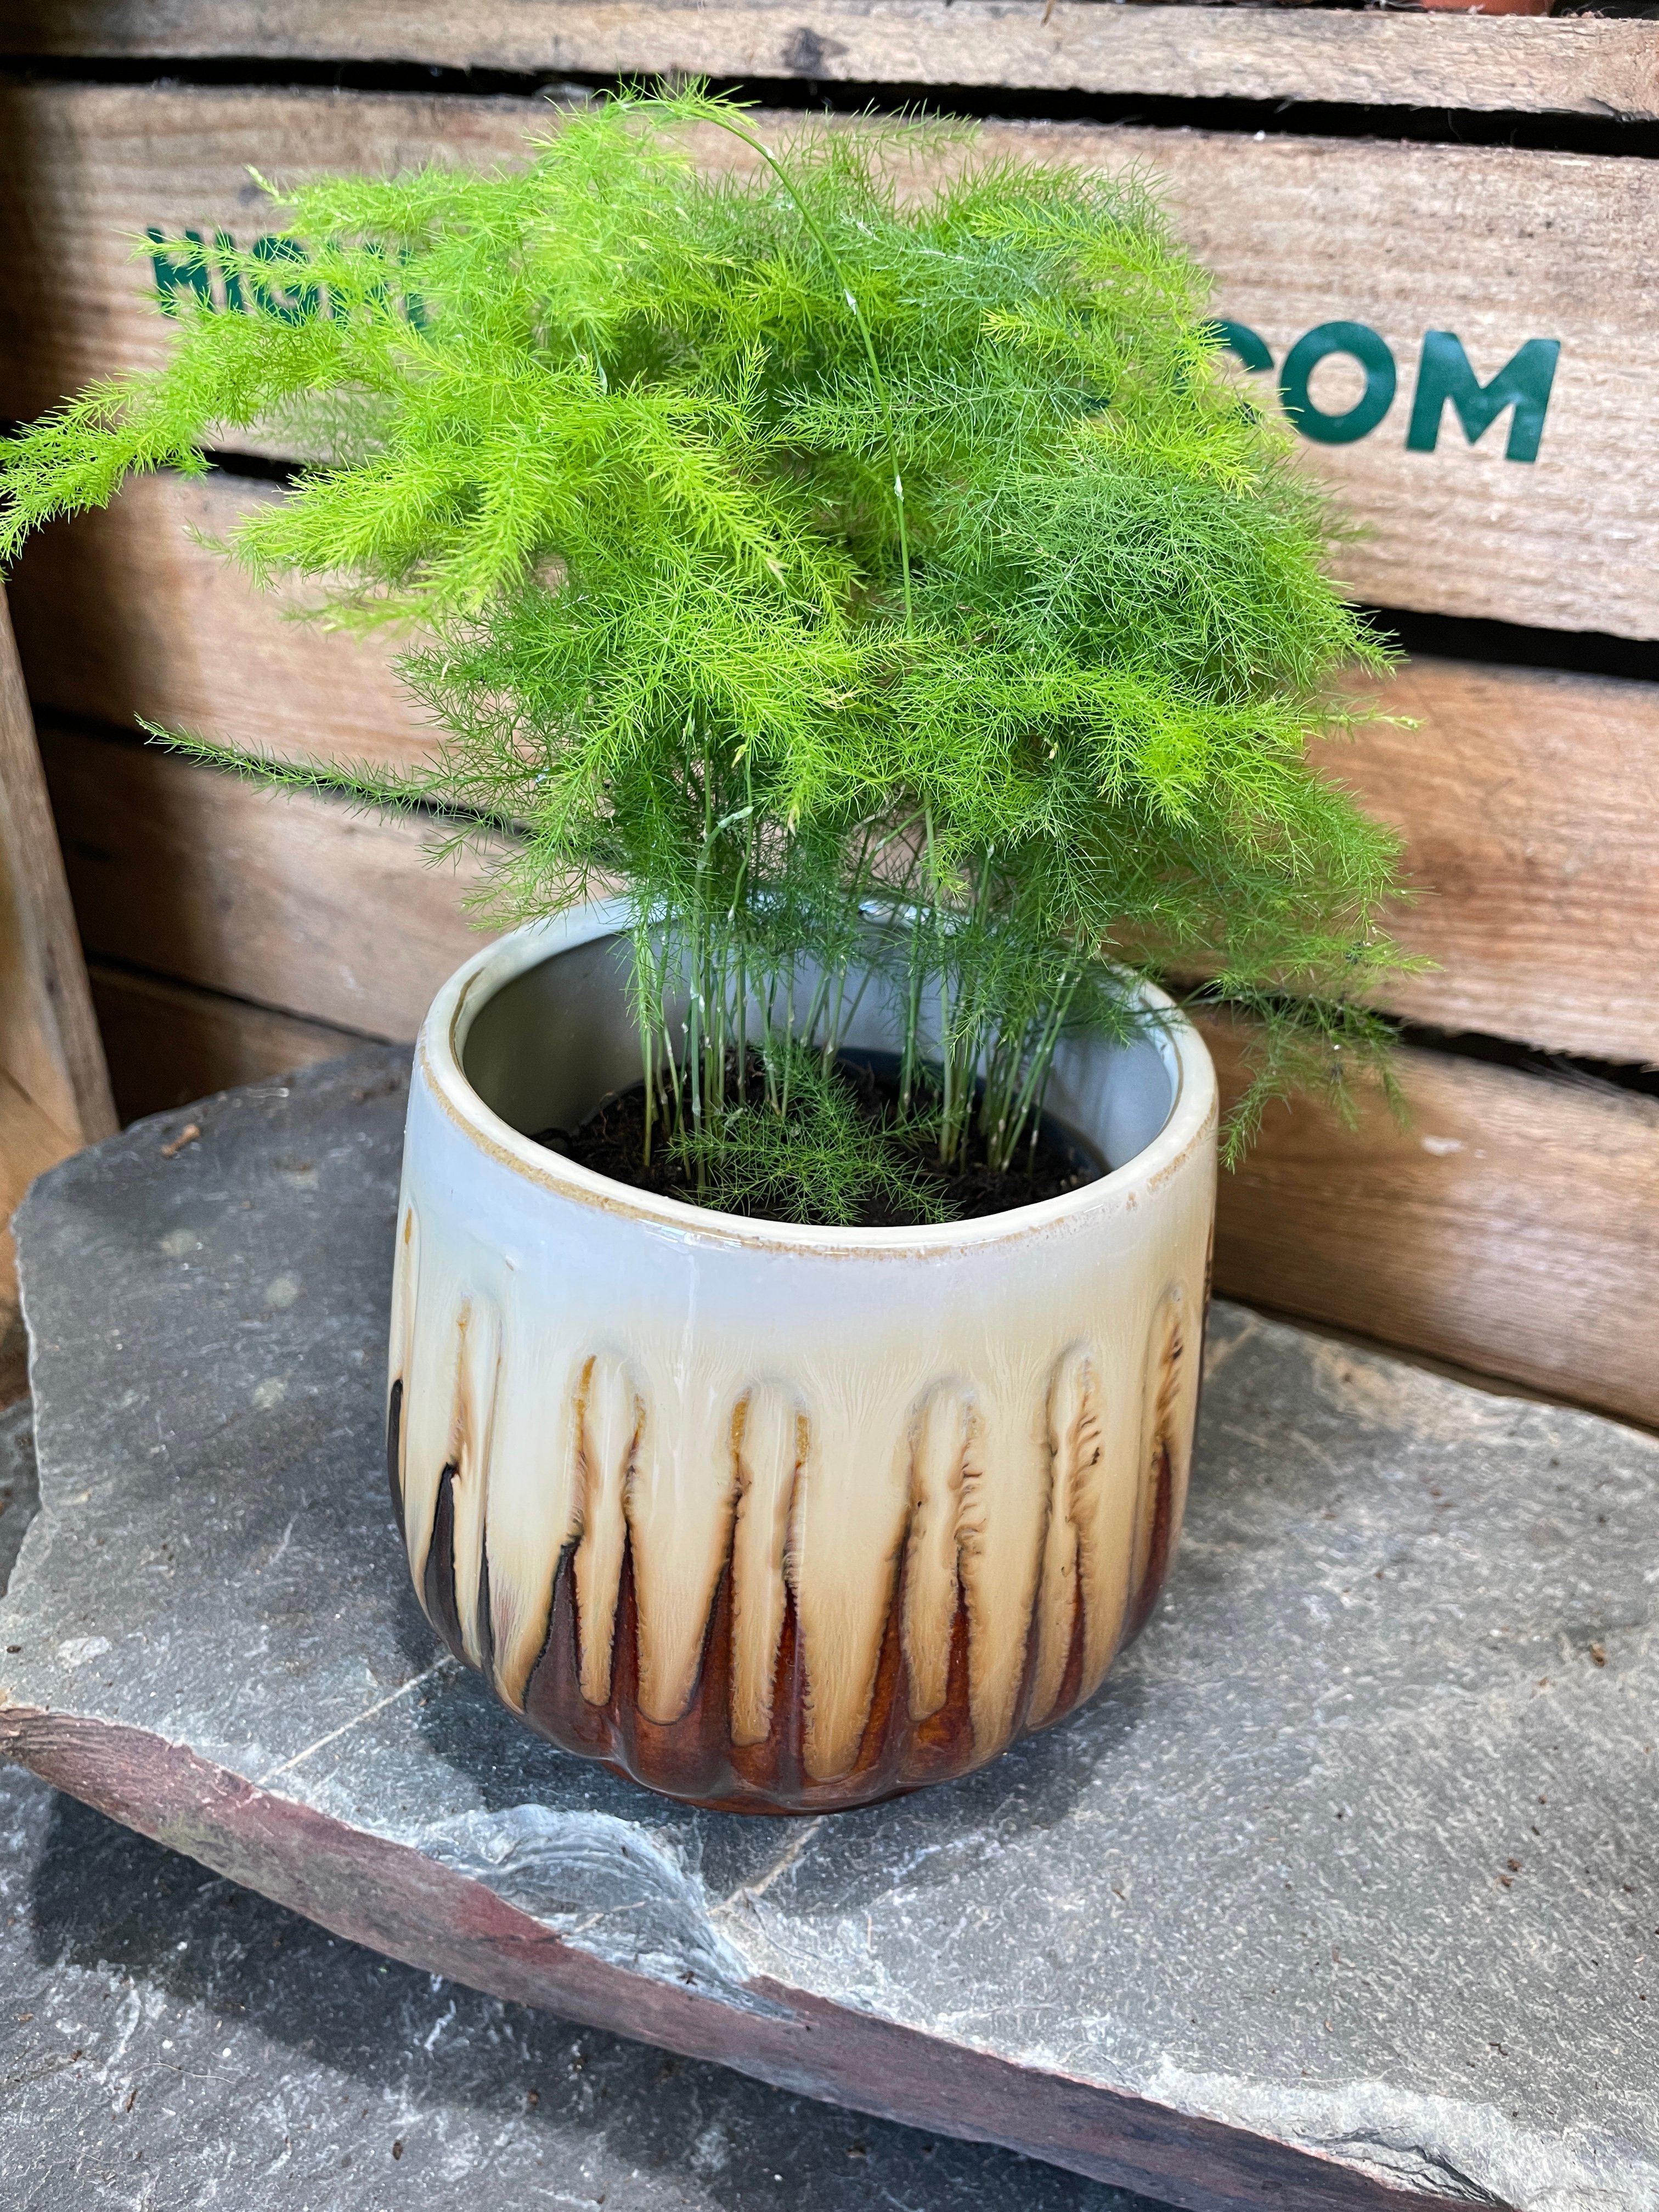
Asparagus densiflorus (Foxtail Fern)
This is probably the easiest to care for Fern and this is mainly down to the fact that it is not a true fern and requires an easier standard of care to keep them alive and healthy. The delicate appearance of light green fronds creates a fantastic texture that is very different to most Ferns and houseplants you may find. Another great option to have has a hanging plant as the long frond extends out and gently arches downward.
If you enjoyed this guide head over to Articles & Blogs to learn more or check out our YouTube for even more useful information!